
If you’re like me, then few things make you happier than your guitar being in tiptop condition. A guitar with a clean fretboard not only looks great, but is actually easier to play and sounds better too!
I’ve made this handy guide to teach you my tried and tested method of how to clean a rosewood fretboard with the gear that I actually use. It’ll also work for any unfinished wood, including ebony, pau ferro, Indian laurel, and walnut.
Affiliate disclaimer: This page contains affiliate links for products that I’ve tried and tested. As an Amazon Associate I earn from qualifying purchases at no additional cost to you. Learn more here.
How to clean a rosewood fretboard
Important: Don’t follow this guide if your guitar has a maple fretboard. Maple fretboards are covered in a thin layer of solidified oil or nitrocellulose lacquer to protect the wood called a “finish”. The following steps could damage or remove the finish.
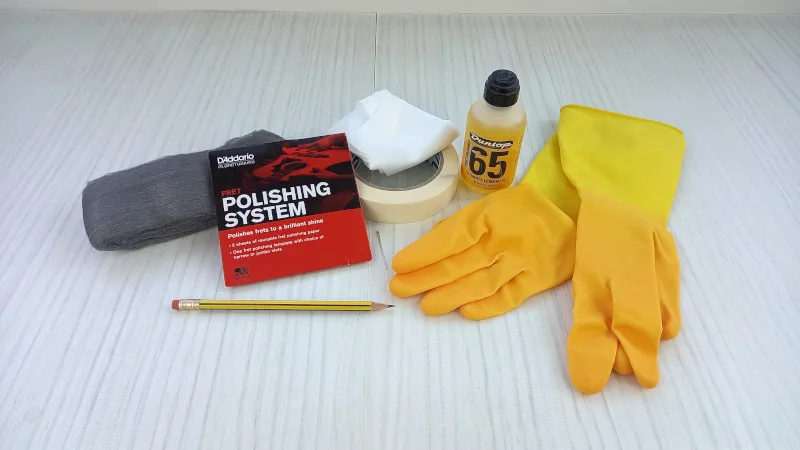
What you’ll need:
- Dunlop 65 Fretboard Oil (You can get this on Amazon using this link)
- A lint-free cloth
- Steel wool (must be 0000 grade)
- Masking tape
- D’Addario Fret Polishing System (You can get this on Amazon using this link)
- A sharpened pencil
- A pin or toothpick
- A piece of paper towel
- Protective gloves

Other equipment:
- A set of new strings (It’s a good time to change them!)
- A clean towel to rest your guitar on
- A vacuum cleaner (to keep your guitar and workspace tidy!)
Step 1: Loosen or remove your old guitar strings
Now’s a good time to change out your old guitar strings. Any dirt that has built up on your fretboard will also be on your strings, so it makes sense to put a fresh set on.
If you’ve recently changed your strings (or just don’t want to!) then you can loosen your strings and move them off to the side of your guitar’s neck. I’d recommend putting a bit of masking tape on them to hold them out of the way.
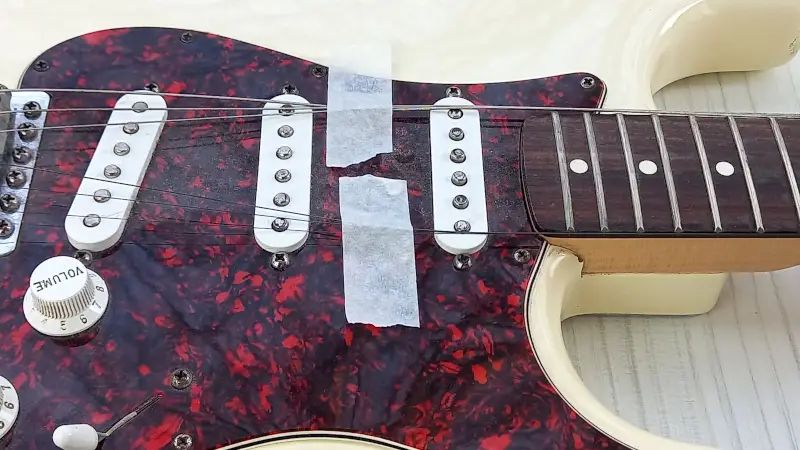
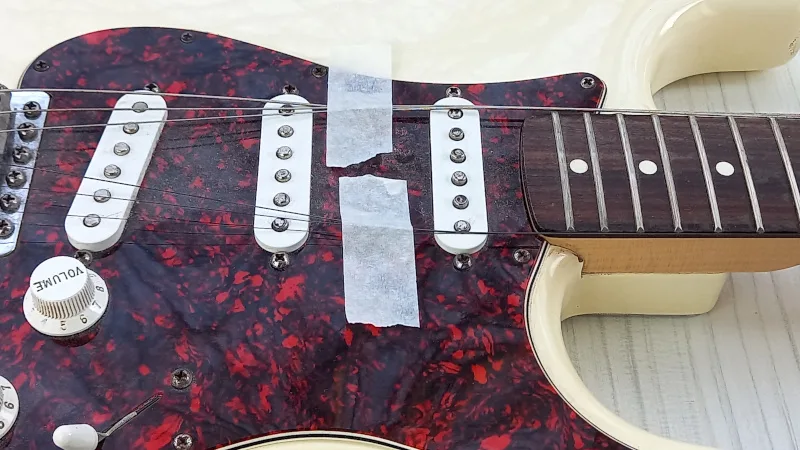
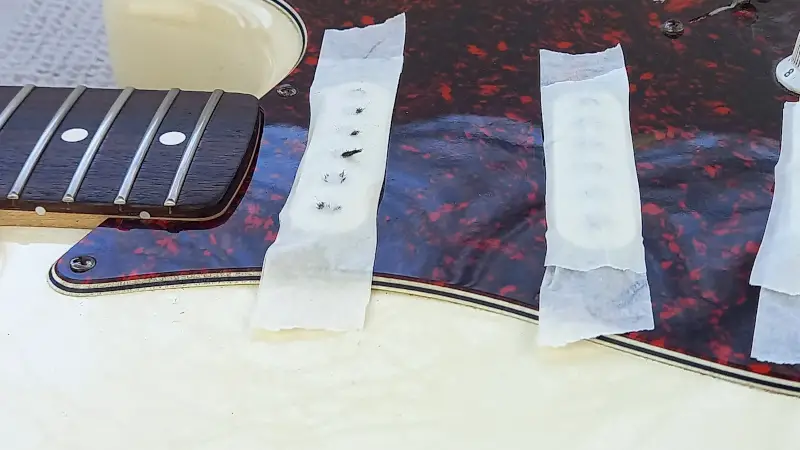
Step 2: Cover your pickups using masking tape
We’re going to be using 0000 grade steel wool to clean the frets which will create small metal filings. If your pickups aren’t covered, these filings will stick to the magnets and are really difficult to get off. They can also work their way into your guitar pickups and electronics which will cause damage over time, so it’s best to take some steps to avoid this happening!
To protect your pickups, take a piece of masking tape and cover your pickup. I like to make sure that the top and sides of my pickups are covered by 2 layers of masking tape.
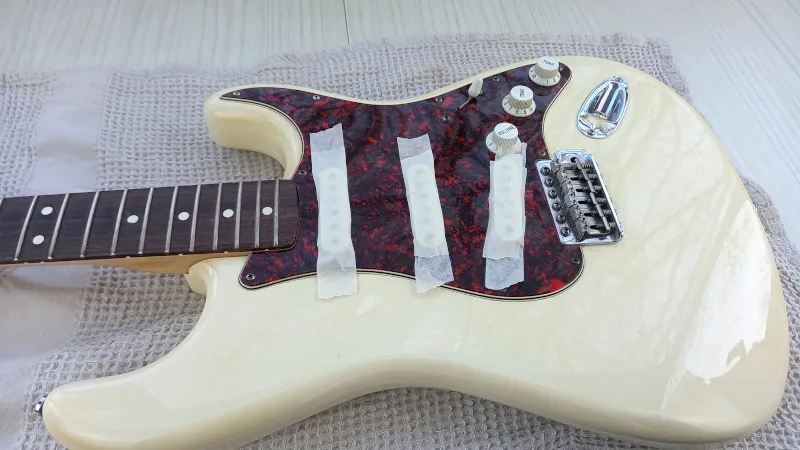
This is also a good time just to wipe down your guitar’s body and fretboard to clean off any dust that sits under the strings.
Step 3: Use 0000 grade steel wool to clean the frets
Note: As “frets” can refer to different parts of the fretboard, I’ll be using the terms “fret wire” for the metal parts, and “frets” for the wood.
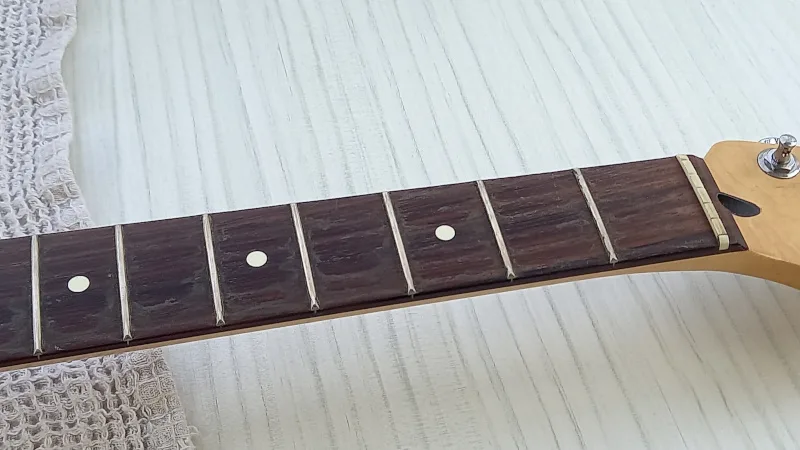
Most of the grime and dirt on your guitar will be on the wood of your frets. Hours of built up sweat and grease will have formed a sticky gunk that’ll need to be removed to bring your fretboard back into its best condition.

To do this, take the steel wool and rub it across the frets and fret wire, in the direction of the wood grain (like you’re moving it towards and away from the guitar’s headstock). Rubbing it this way will clean a rosewood fretboard without scratching it.

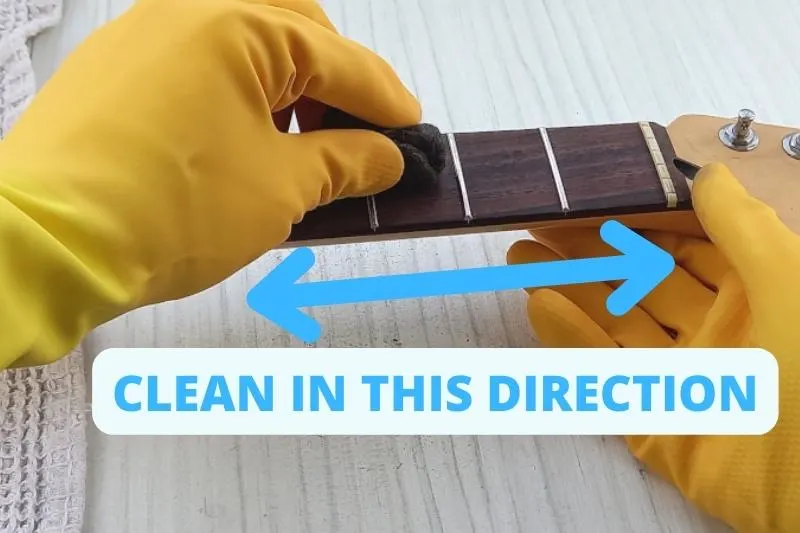
Rubbing the steel wool against the wood grain (like the direction that you’d strum your strings) can cause scratches on your fretboard.
The steel wool has an added benefit of cleaning your fret wire, which will make polishing it easier!
If you find that the built up dirt won’t budge, I recommend putting a drop of fretboard oil on and leaving it for a couple of minutes.
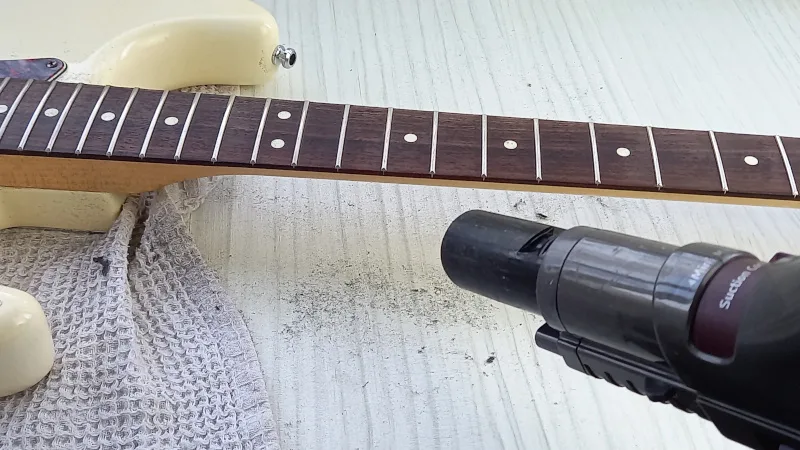
Once you’ve done this across the whole neck, use a vacuum cleaner to suck up any loose metal filings.

Top tip: If you don’t have any steel wool, you can use an old credit card to scrape the dirt off. But, I find that steel wool gives better results and takes less effort!
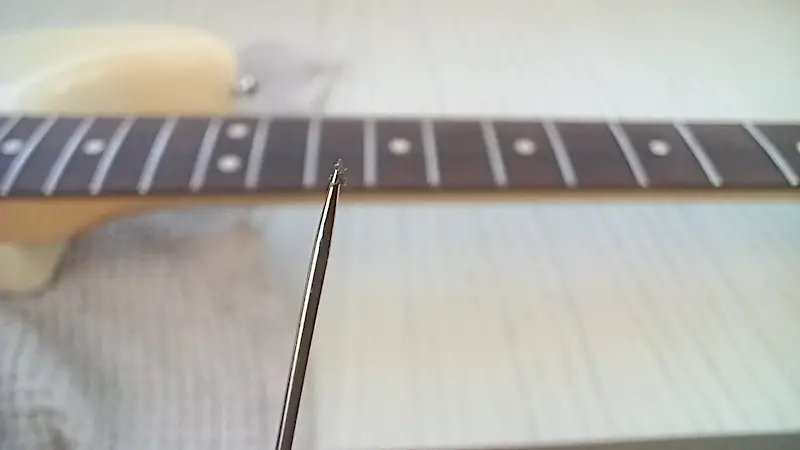
Step 4: Use a pin to clean under the fret wire
Now that your frets are gunk free, you’re going to want to pick out any dirt (and any metal shavings from the previous step) that’s built up under the fret wire.
Using a pin or toothpick (or any small pointy thing) gently scrape the edge of each fret wire where it meets the fretboard.

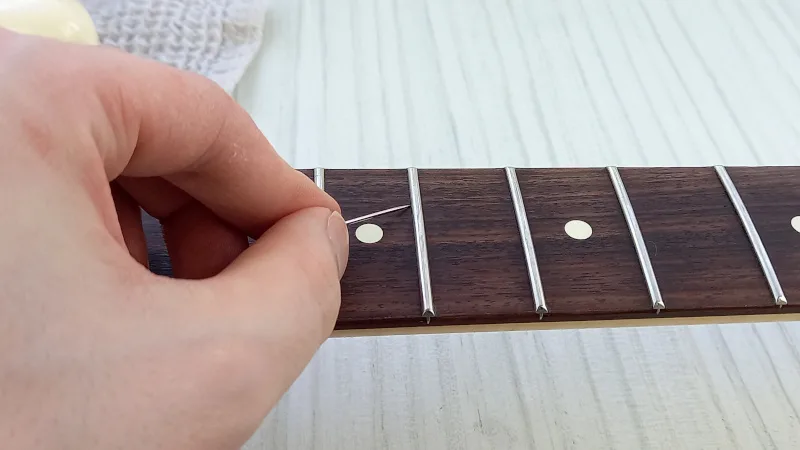
After each scrape, wipe the pin on the piece of paper towel to remove the built up dirt.
You’ll want to be careful with this step as you can scratch your fretboard if you scrape too hard or at the wrong angle. You just want to apply enough pressure to lift any grime out.
After you’ve done this for each fret wire, I recommend another round with the vacuum cleaner across the neck to remove any loosened dirt.
Step 5: Polish the fret wire using the D’Addario Fret Polishing System
Your guitar’s frets may look shiny, but they’ll also be covered in a greasy layer that needs to be polished off. In fact, you’ll be surprised at just how dull your old fret wire looks compared to when you’ve cleaned it!
For this, I use the D’Addario Fret Polishing System. It comes with 5 fret polishing cloths (which are very fine grit sandpaper) as well as a handy template that will save you from scratching the fretboard wood. I’ve been using this instead of buying metal fret guards and expensive fret cleaners as it’s much cheaper and does the job just as well!
You can get this on Amazon using this link!

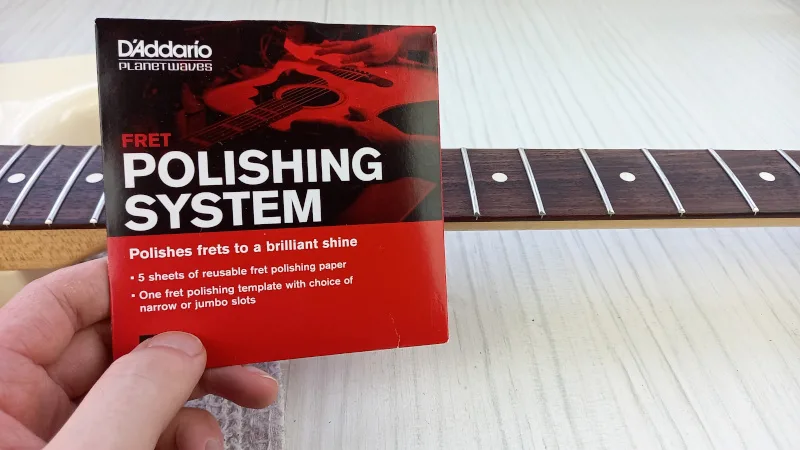
Start by putting the fret guard template across the fret wire, so the wire is poking out of the hole and the wood is covered by the cardboard.
Next, take the rougher side of the polishing cloth and work it across the top and sides of the fret wire. This is going to take some elbow grease, so be sure to press quite hard while cleaning to remove the grime.
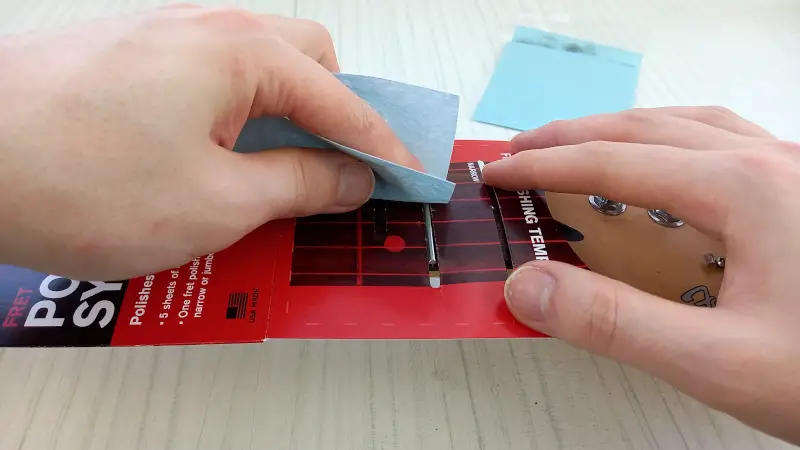

Once your fret wire is shiny and smooth, move on to the next one until you’ve polished them all.
Top tip: Instead of cutting the out the template from the D’Addario Fret Polishing System packet, I peel it down along the glue line. This means that I can still use the packet to keep all the polishing cloths inside.
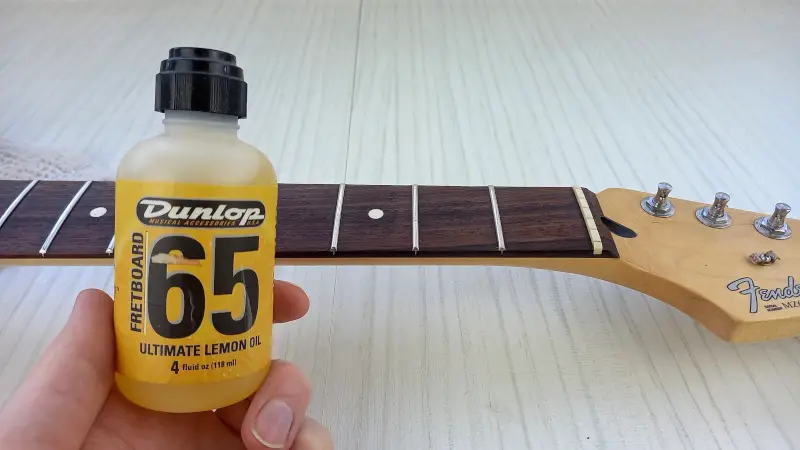
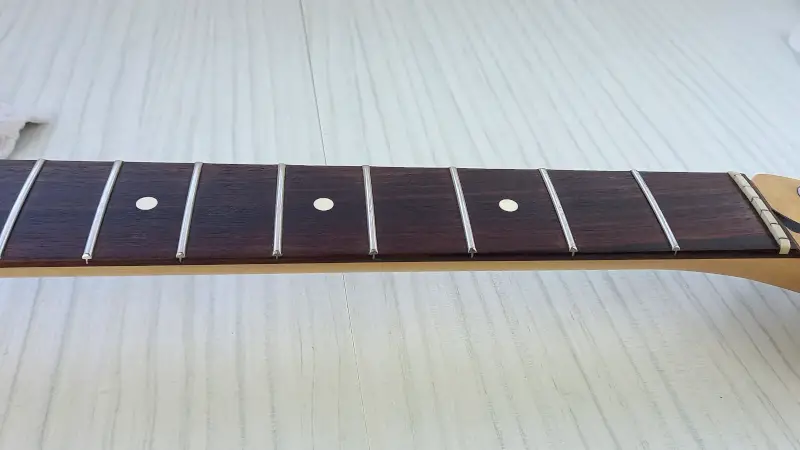
Step 6: Condition the fretboard wood using the Dunlop Formula 65 Lemon Oil
This is my favorite part of cleaning a fretboard! It gives the wood a great finish to match the now sparkling fret wire.
I’ve found the best oil to clean and condition a rosewood fretboard to be the Dunlop Formula 65 Lemon Oil which is a lemon scented mineral oil product. Though, any mineral oil based fretboard conditioners will achieve similar results.
You can pick some up on Amazon using this link!

Take your fretboard conditioning oil and apply a small amount to your first few frets, just enough to lightly cover them. Now, leave your guitar for about 5-10 minutes to absorb the oil.
Be sure not to use a lot of oil. Too much oil can make your fretboard sticky which will affect your sound. A little goes a very long way!
Once the time’s up, take your lint-free cloth and polish your frets, parallel to the direction of your fret wire. This will remove any excess oil and lift off any remaining dirt.
Make sure the cloth you’re using is lint-free, otherwise you’ll get little pieces of lint all over your fretboard!
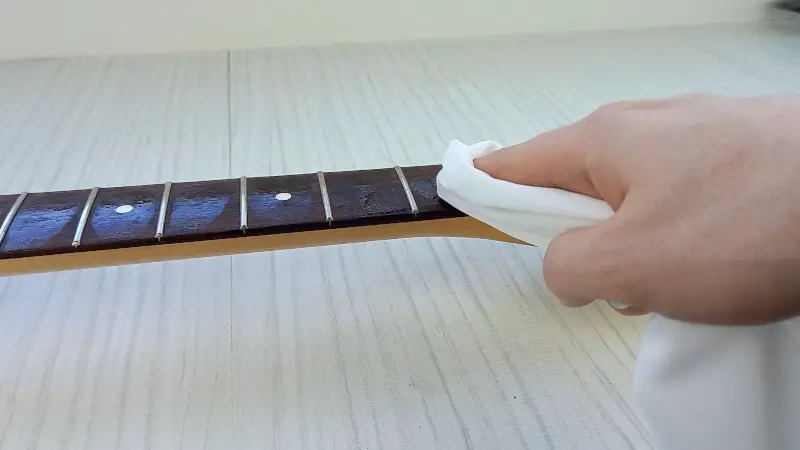
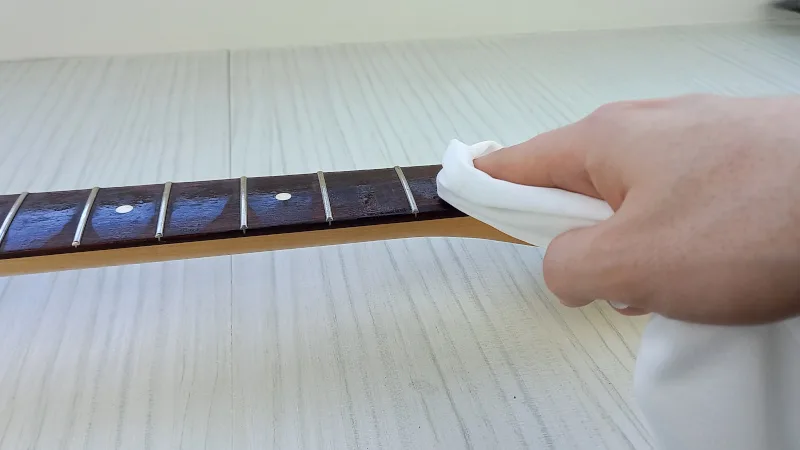
Repeat this step across your fretboard. Once you’ve finished, wipe the whole fretboard down with your cloth to remove any excess oil that may have got onto your fret wire.
Top tip: “Lemon oil” is used a lot as a general term for fretboard conditioning oil. Make sure not to use actual lemon oil (like an essential oil) on your guitar as it’s acidic and can damage your wood! If in doubt, always make sure that the oil is marketed for use on fretboards.
Step 7: Use a pencil to lubricate the saddles and nut
Great, your guitar fretboard is now cleaned and polished! But, before you put your strings on (or back in place) there’s one quick trick you can do to help your strings last longer, stay in tune better, and even sound better.
To do this, take a sharpened pencil and put it in the string slot in the nut. You’ll want to “color in” the nut slot, where the string usually rests.

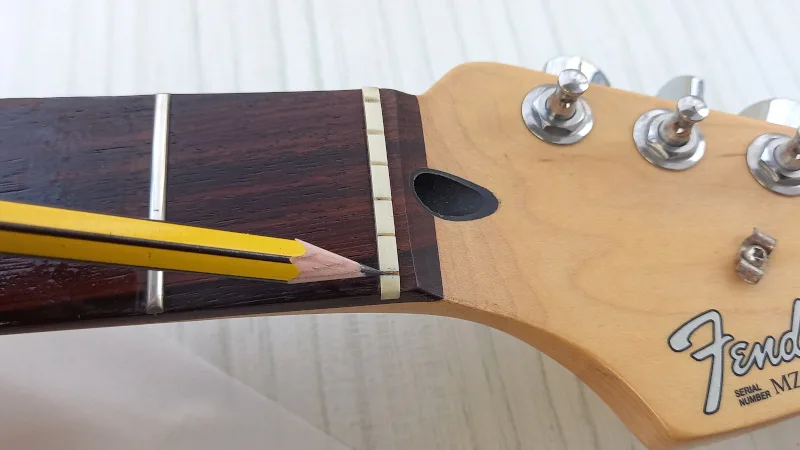
This deposits graphite (what pencil “lead” is made from) into the nut slots, which acts as a lubricant for your guitar strings. It’ll reduce any friction and will stop them catching and “pinging” when you tune.
Once you’ve done this for each slot, repeat this on the saddles on your bridge.
There are a few products that are marketed for nut and saddle lubrication that can cost between $10 to $20. I’ve found that a pencil works just as well, at a fraction of the price!
Top tip: If you get any graphite where you don’t want it, you can rub it off using a pencil eraser.
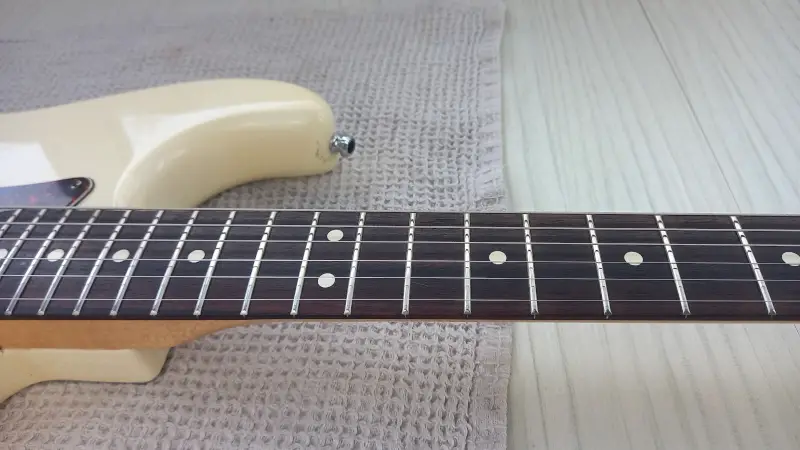
Step 8: Cleaning up
You’ve done it! You now have a rosewood fretboard that’s clean, conditioned, and ready to rock! All that’s left is to tidy up.

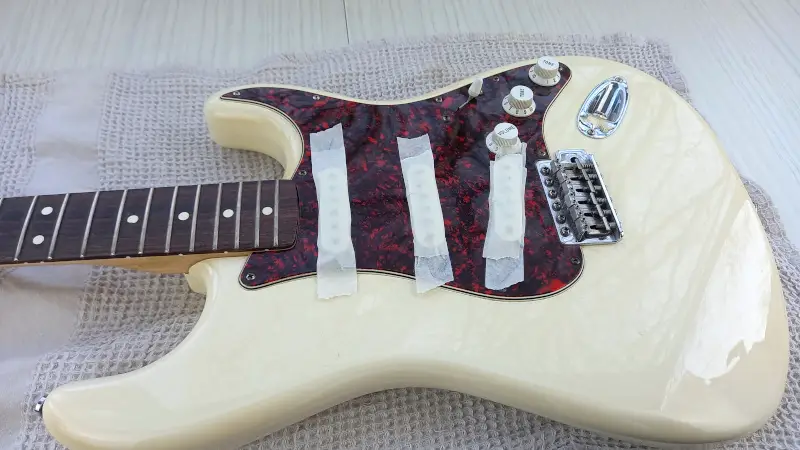
Before removing the masking tape from your pickups, I recommend putting another piece of tape over them. This will “sandwich” any metal filings and stop them falling off once they’re away from the magnetic pull of your pickups.

Once you’ve taken the tape off, it’s time to put your new strings on (or tighten up your old ones!). Now might also be a good time to check your guitars neck relief and string action to address any fret buzz concerns!

Top tip: If you’ve removed the masking tape and have got metal filings on your pickup, don’t worry! You can remove them using the sticky side of a fresh piece of tape to pull the filings off. Be sure to vacuum around the pickups as some of the filings may have fallen in the gaps!
Related Questions
How often should I clean my guitar fretboard?
You should fully clean your guitar fretboard with each string change, which should be at least every 2 to 3 months. You can keep your fretboard clean in between string changes by wiping it down with a clean, lint-free cloth in between practice sessions to remove any sweat or grease.
What’s the best oil for a rosewood fretboard?
I’ve found that mineral oil is the best oil to clean and condition a rosewood fretboard. Most market leading fretboard oil products are mineral oil based, including the Dunlop Formula 65 Ultimate Lemon Oil, which is the one that I use.
What are some fretboard conditioner alternatives?
Drying oils such as mineral oil, walnut oil, linseed oil, and tung oil are good alternatives to traditional fretboard conditioners. You should never use non-drying oils such as olive oil and coconut oil as they will be sticky on your fretboard and turn rancid over time. Also, never use essential oils on your guitar as they can damage the wood over time.
Is fretboard oil necessary?
Fretboard oil is necessary for keeping the fretboard wood hydrated. Without fretboard oil, the wood will become dry overtime which can lead to cracks and shrinkage that can cause the fret wires to become uneven.
How can I fix a dry rosewood fretboard?
You can fix a dry fretboard by applying a small amount of fretboard conditioning oil to each fret and allowing it to soak in for 10 minutes. Following this, polish each fret with a clean, lint-free cloth to remove any excess oil. To avoid your fretboard drying out again, be sure to keep it in its case between practices and in a place without frequent temperature or humidity changes.
How can I polish a rosewood fretboard?
For a polished, glossy finish on a rosewood fretboard simply apply a fretboard conditioner, wait 10 minutes, and then rub the remaining oil off with a clean lint-free cloth. By increasing the amount of time and pressure spent rubbing each fret, the wood will slowly begin to wear down over time which will make the surface more even and appear glossy.


Conor is a music producer, multi-instrumentalist, and all-round enthusiast from the UK with over 15 years of experience. He’s the founder and sole-content creator for the roundtable audio blog and YouTube channel.