
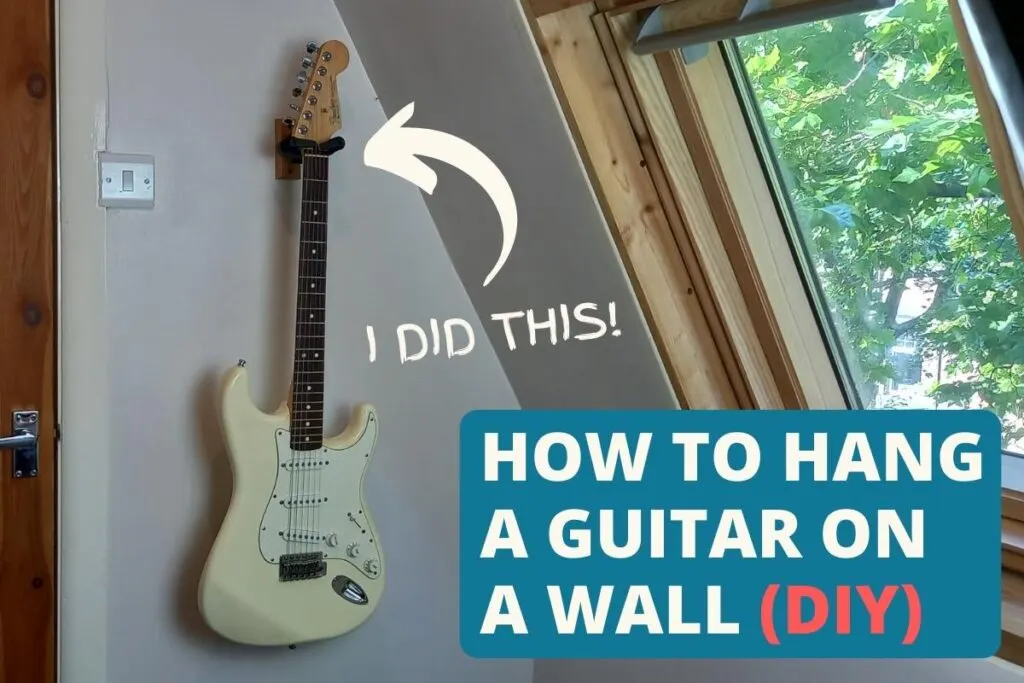
Hanging your guitar on a wall is a great way to both store and display your precious instrument. Keeping it off the floor not only frees up space, but also reduces the chances of it getting bashed or knocked over by passers by.
Installing a guitar wall hanger is a straightforward DIY project that can be undertaken by anyone confident enough with a drill.
I’ve written this guide with easy to follow, step-by-step instructions that will give you all the know-how and tips that you need to successfully hang your guitar on a wall.
Affiliate disclaimer: This page contains affiliate links for products that I’ve tried and tested. As an Amazon Associate I earn from qualifying purchases at no additional cost to you. Learn more here.
Getting started
Before installing your wall-mount, you might be wondering about the longer term effects of hanging your guitar by its neck. I recommend you read my complete guide on whether wall hangers are bad for guitars. Generally, they are safe. But, there are a few things that you need to be aware of.
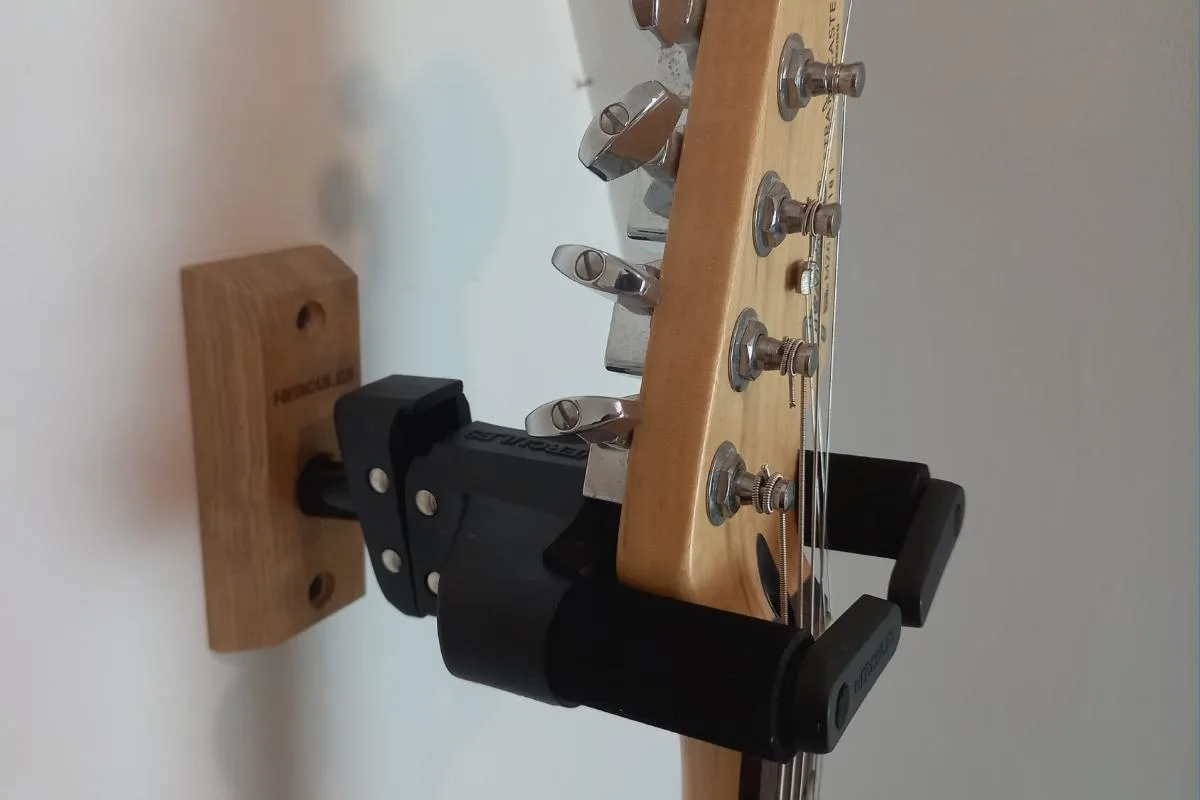
In this guide I recommend using the Hercules GSP38WB Wall mount. It’s the one that I use, and has with a locking mechanism to keep your guitar extra safe. It also uses a material that is safe for guitar finishes – as other materials can stain your neck over time.
Check out the latest price here on Amazon.
How to hang your guitar on a wall
Installing a wall-mount for your guitar is a very straightforward DIY job. By following these step-by-step instructions, you’ll have your guitar hanging safe and securely on your wall.
")
")
Total time needed :
30
Minutes
Total cost:
Under $30
(USD)
Required materials:
Required tools:
How to hang your guitar on a wall:
Choose a suitable location for your wall mount

Choose which wall you want to mount your guitar on. Brick walls or wall studs are the most secure for this type of fitting, however it is possible to install a wall mount on drywall or plasterboard.
If you’re unsure what type of wall you have, give it a light knock with your fist. If it sounds hollow, you likely have drywall. But, if you get a dull “thud”, then it’s likely a brick wall.
Make sure the room the wall is in has a stable temperature and humidity, and that the guitar will be out of direct sunlight. This will protect your guitar’s finish and prevent damage to the wood.
Also, make sure that it’s in a low traffic area, so that your guitar won’t be bumped or knocked by passers by.
Find a position for your wall mount
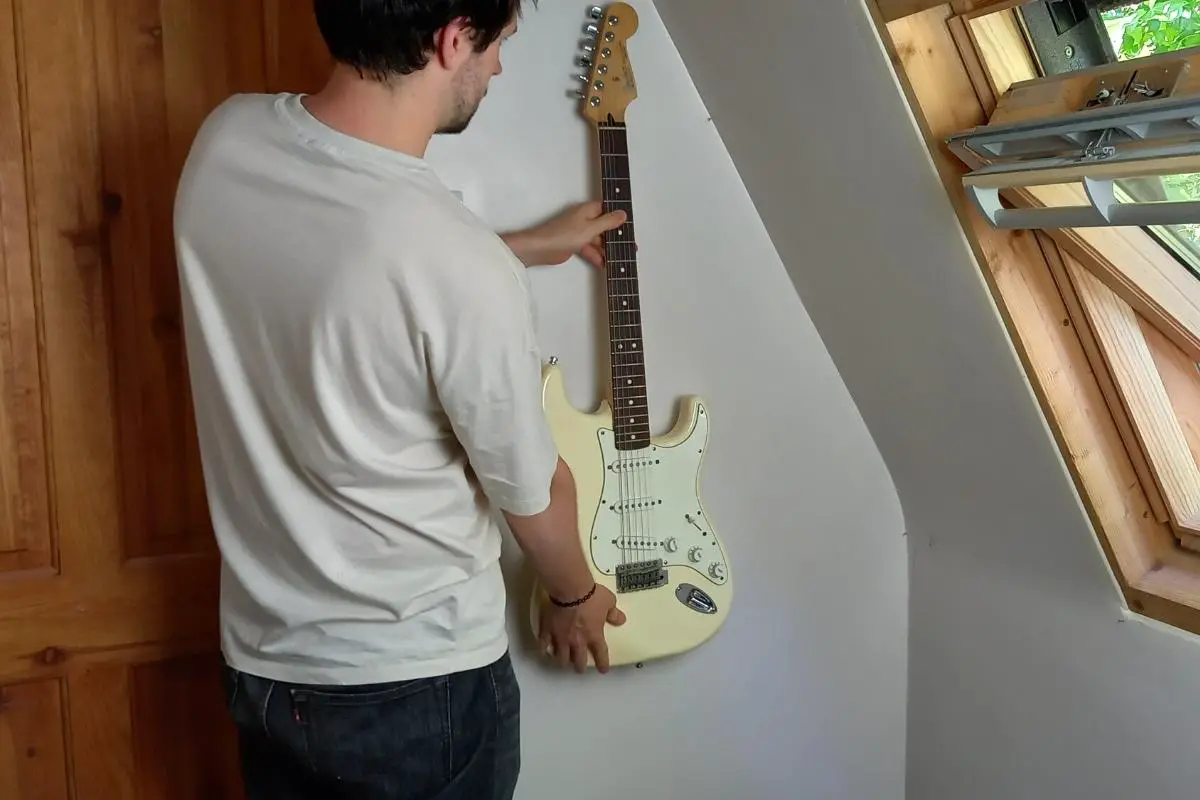

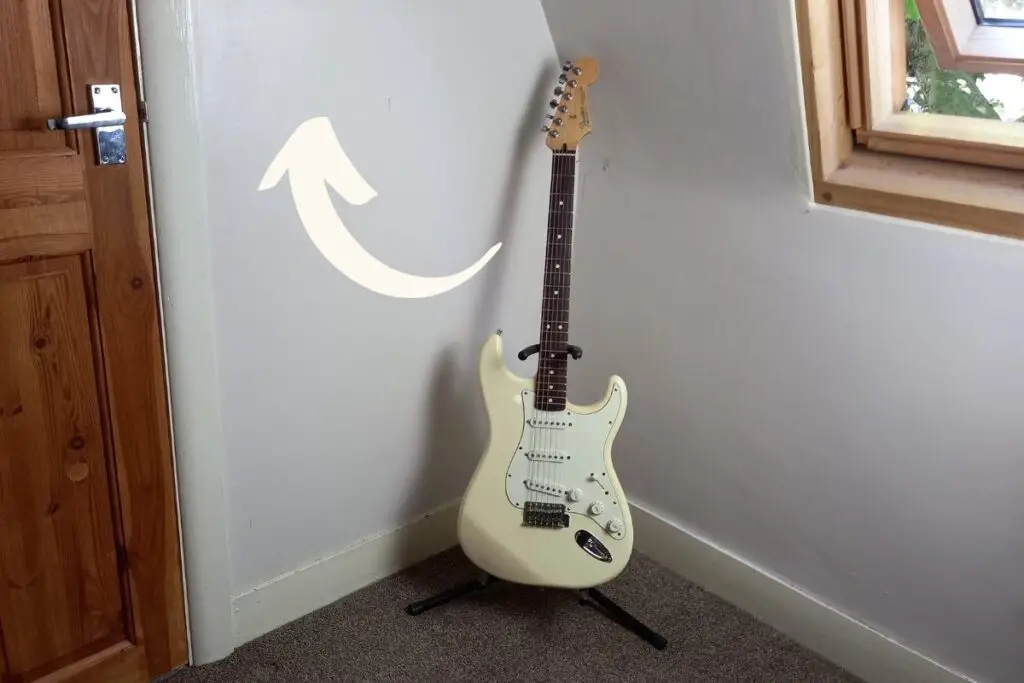
Take your guitar and place it against the chosen wall to get an idea of where you want it mounted. Make sure that it is easy to reach, and has enough clearance so that it doesn’t bump against any walls when being taken off from the mount.
Once you’ve found a suitable position, mark the wall with a pencil at the top of the guitar’s headstock.
Assess the position for wires and studs
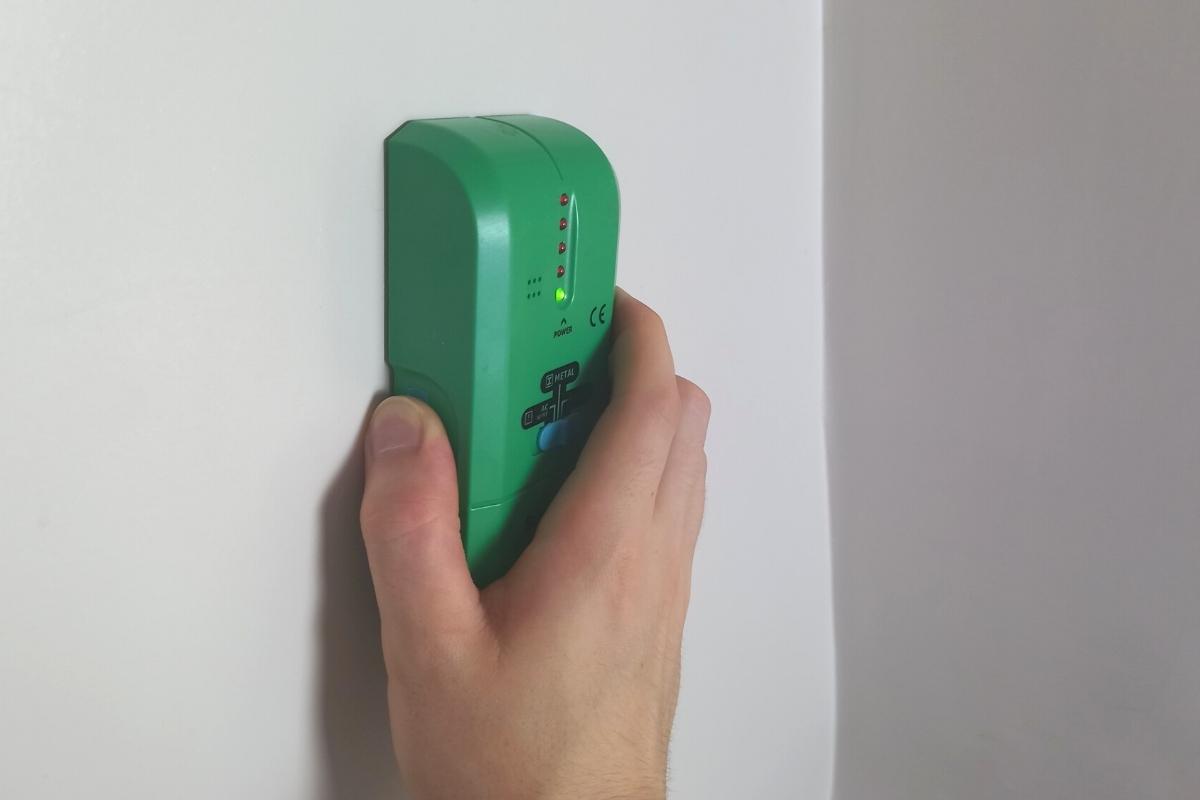
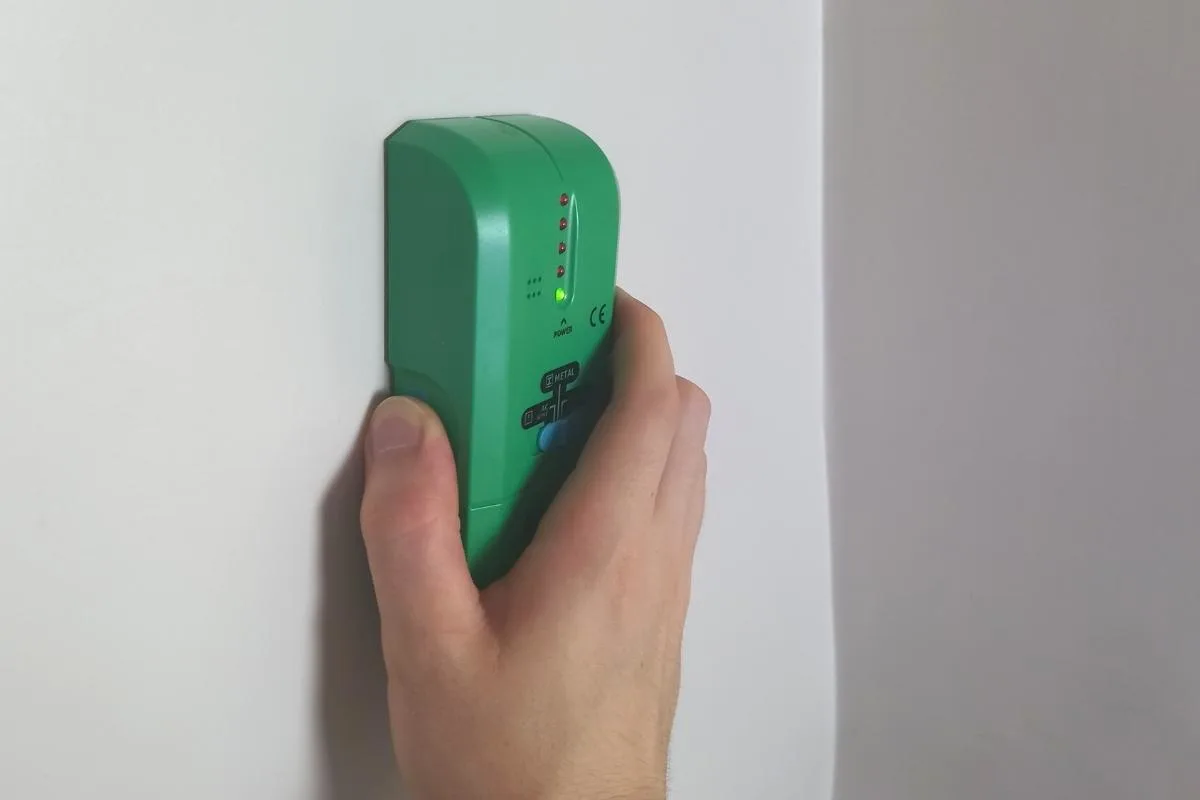
Use a wall scanner to look for pipes, metal, or electrical wires near your marking. Drilling into any of these things is potentially dangerous for both you and your house. Take your time to be certain that the area is safe before moving onto the next steps.
If there are pipes, metal, or electrical wires, find a new position and start again.
If you’re installing your wall-mount on a stud wall, use the wall scanner to locate a stud. Mark the stud with a pencil, in line with the mark from the headstock.
Mark the position of the wall-mount


Using a pencil, mark the position of the wall mount and the screw holes. Use a spirit level to ensure that the mount is straight.
An effective way of marking the screw holes is to make a template using a piece of masking tape. Place the masking along the back of the mount, and over the screw holes. Next, poke the masking tape where the screw holes are with something sharp to create holes in the masking tape. Finally, align the masking tape with the wall markings, and mark the holes on the wall using a pencil.
Drill mounting holes into the wall

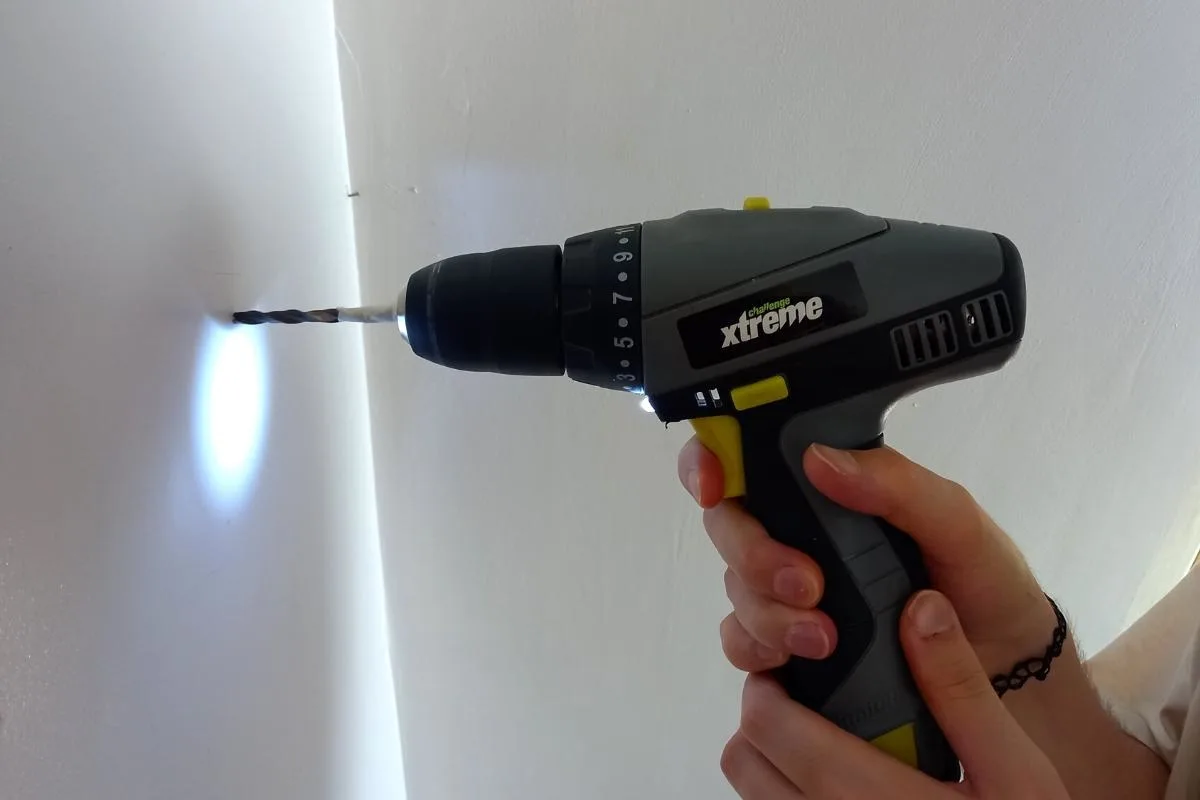
If you’re drilling into brick or drywall: choose a drill bit that is the same diameter as your wall anchor. Line up the wall anchor with the drill and put on a bit of masking tape to mark the length of the anchor. This will ensure that you drill a hole deep enough to fully embed the anchor into the wall.
For stud walls, use a drill bit that is slightly thinner than the screw. This will help it screw into the wood better. Use some masking tape to mark the length of the screw on the drill bit.
Before drilling the main hole, use a very thin drill bit to drill a pilot hole. This will help the main drill bit drill into the wall.
Drill into the wall up to the masking tape on the drill bit. Once the holes are drilled, use a vacuum cleaner to remove any dust and loose particles
Insert the wall anchors
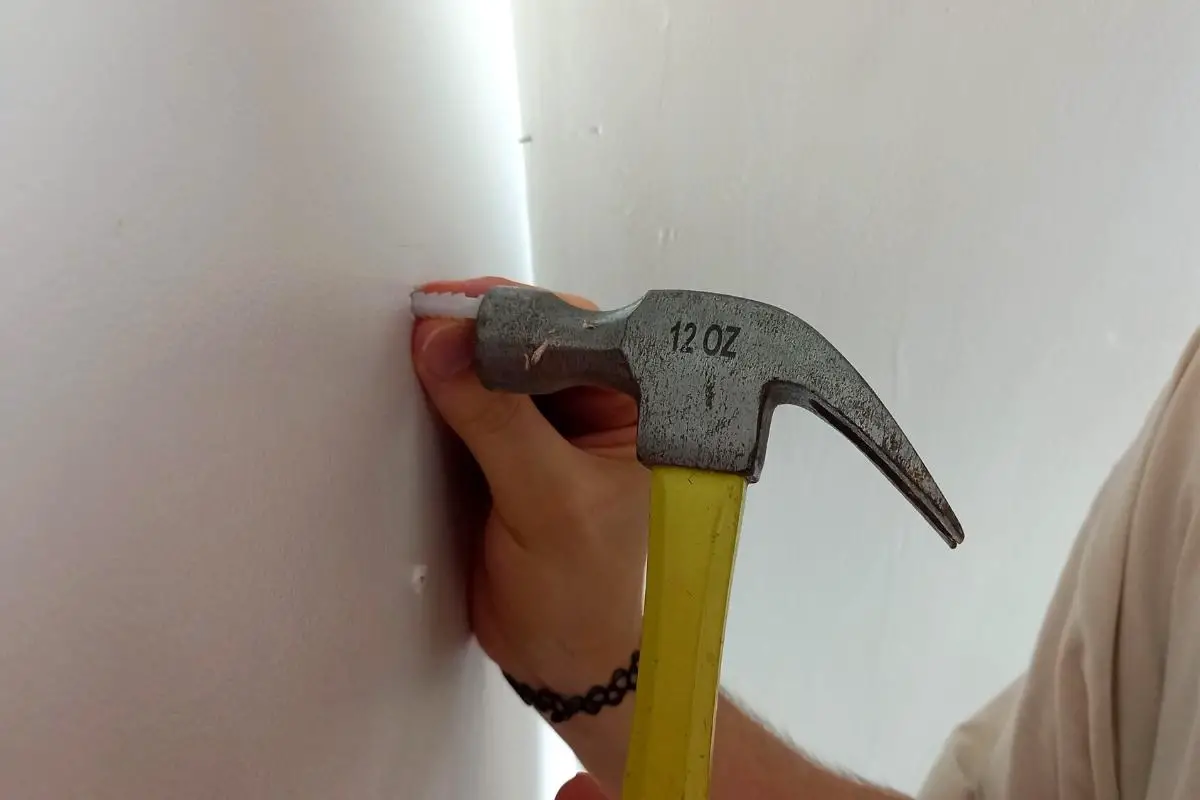

If you’re installing onto brick or drywall, push the wall anchors into their holes. Use a hammer to lightly tap them into place. You shouldn’t use a lot of force, just enough to guide the anchors in. Otherwise, you risk damaging them and the wall.
Once inserted, the wall anchors should sit flush with the wall.
If the wall anchors don’t fit, then you may have to go up a drill bit size to widen the hole. If the holes aren’t deep enough, re-measure your wall anchor against the drill bit and move the masking tape as necessary. Then, deepen the hole by drilling further.
Attach the wall-mount to the wall
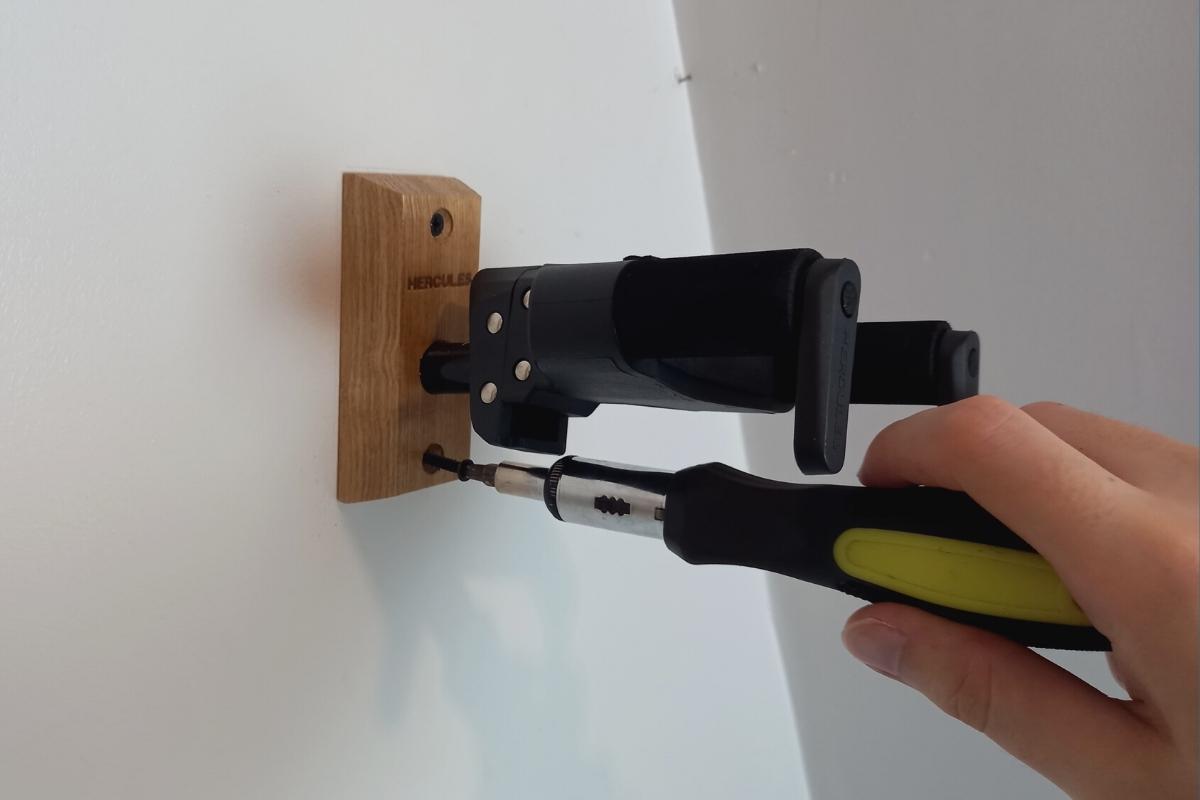

Insert the screws through the front of the wall hanger, so they come out the back. Line up the screw holes with the drilled holes on the wall. Use a screwdriver and the supplied screws to attach the wall mount to the wall.
Make sure that the screws are fully tightened, and that the wall mount sits flush against the wall. Once the wall-mount is attached, give it a firm shake. The back-plate of the mount should be stable and there should be no movement.
If there is movement, make sure the screws are tightened, and that there isn’t a gap between the wall mount and the wall.
Place your guitar in the mount
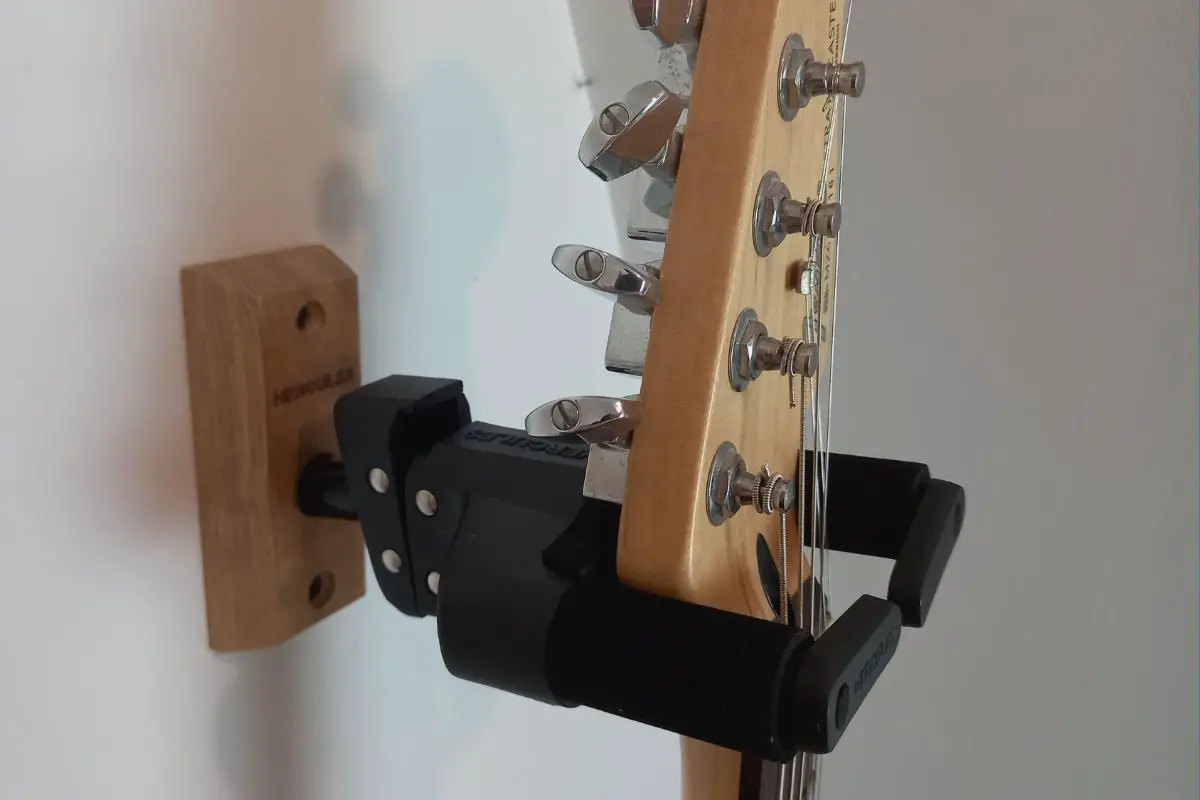
Take your guitar and put it into the mount. If you’re worried about your guitar falling, hover your hand around the neck so that you can catch it.
Wait a minute or two, then remove your guitar from the mount. Check the mount to ensure that it hasn’t come away from the wall. Give it a firm shake and check the back-plate for any movement. If there isn’t any movement, then your wall-hanger is secure and ready to use!
Conclusion
There you have it, your guitar should now be safely hanging on the wall, ready to be picked up and played at a moment’s notice.
If you haven’t checked it out, I do recommend reading my guide “are wall hangers bad for guitars“. It dispels a lot of the myths surrounding wall hangers, and even gets a professional opinion.
If you’re having any problems with installing your wall-mount, take a look at the previous step and make sure you’ve followed everything fully. If you’re still not confident, or have any questions or concerns, please consult with a professional tradesperson. It’ll be worth the extra dollars to give you the peace of mind that your guitar will stay on the wall!
Related questions


Conor is a music producer, multi-instrumentalist, and all-round enthusiast from the UK with over 15 years of experience. He’s the founder and sole-content creator for the roundtable audio blog and YouTube channel.