
Having your guitar pedals set up in the right order is essential to getting the best sound from your guitar. As each pedal applies its effect to the signal before it – having the wrong pedal chain order can quickly turn your precious guitar tone into a garbled mess!
Something as simple as putting a tuner after a distortion pedal, or having a delay pedal at the front of your chain, can really hinder your performance.
When I first started experimenting with pedals and playing live, I got it wrong – a lot! After taking some time to learn about the best order for guitar pedals (and playing some gigs with a questionable sound…) I’ve put this guide together to teach you the best order for your guitar pedals and save you potentially hours of trial and error!
Affiliate disclaimer: This page contains affiliate links for products that I’ve tried and tested. As an Amazon Associate I earn from qualifying purchases at no additional cost to you. Learn more here.
The basics of pedal chains
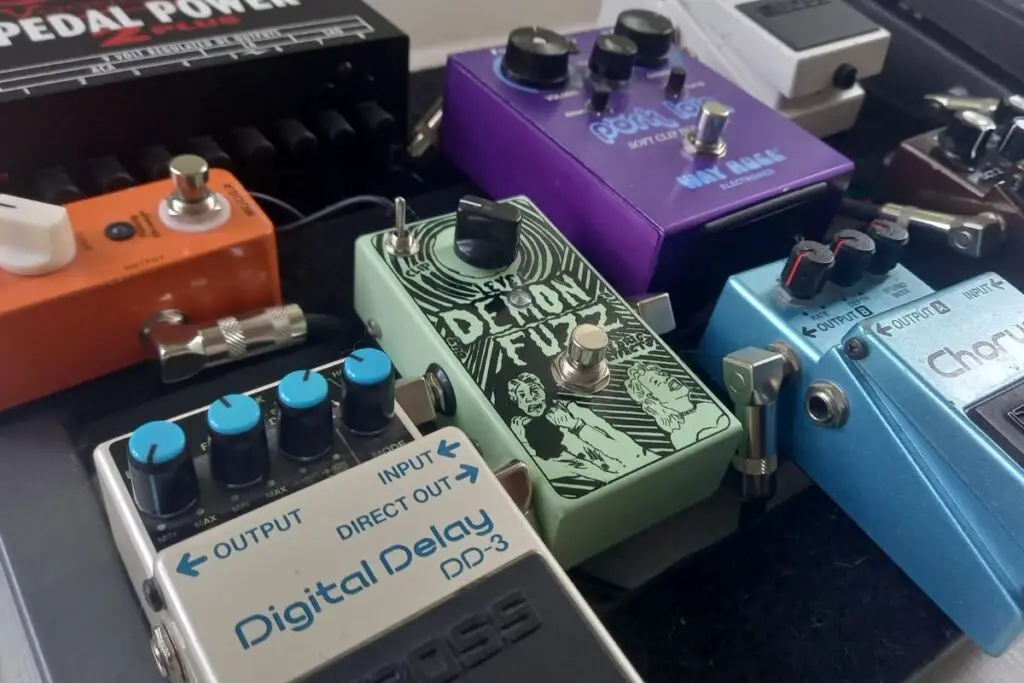
Before I go fully into the proper guitar pedal order, it’s important to understand how guitar pedal chains work. A guitar pedal chain is where there are at least two guitar pedals connected between your guitar and amplifier. The pedals themselves modify the signal that’s input into them. So, a pedal connected directly to the guitar will modify the guitar signal. The modified signal then passes on to the next pedal, which is modified and passed onto the next pedal, and so on.

So, why is it that guitar pedals need to be arranged in a certain order? Well, it’s all about how the guitar pedal modifies the signal. Let’s take a tuning pedal as an example. The purpose of the tuner pedal is to show you if your guitar’s in tune. If you put this after a pitch-altering effect, then the result on the tuning pedal will be wrong. So, the tuning pedal needs to come first in the pedal chain.
That’s a simple example, but it’s essentially all we’re doing when ordering our guitar pedals. We’re just making sure that the effects are working together in the right way to achieve the desired sound. To do this, you need to know the different types of guitar pedal effects, and how they interact.
The different types of guitar pedals
Filters: These are pedals that work by changing some parts of a signal’s frequencies. The most recognisable examples are wah-wah pedals and equalizers.
Dynamics: These pedals include compressors, noise gates, and EQ. In other words, any pedal that balances the volume of a signal or stopping unwanted sound like hum.
Pitch modifiers: This group of pedals includes devices like tuner pedals, pitch shifters, harmonizers, and octavers.
Volume: Volume based effects change the volume of the input signal. These types of pedals include volume control, boost, and tremolo pedals,
Gain: Gain pedals are used to create a “clipped” signal. These pedals, like fuzz, overdrive, and distortion giving the input signal a rough, gritty sound familiar to rock music.
Modulation: Closely related to filter and pitch pedals, these are different mainly in how they do their work. This category includes flangers, vibrato pedals, ring modulators, and chorus pedals.
Time effects: These pedals affect the timing of the sound passing through them, like reverb or delay pedals. Loop pedals can also be included in this category. More often than not, these pedals go late or last in the pedal chain, so they can apply their effects to the final signal.
The most common pedal chain order
Now that you know the guitar pedal types, it’s time to get them in the right order. This is the pedal chain order that most people agree upon, and the one that I use myself.
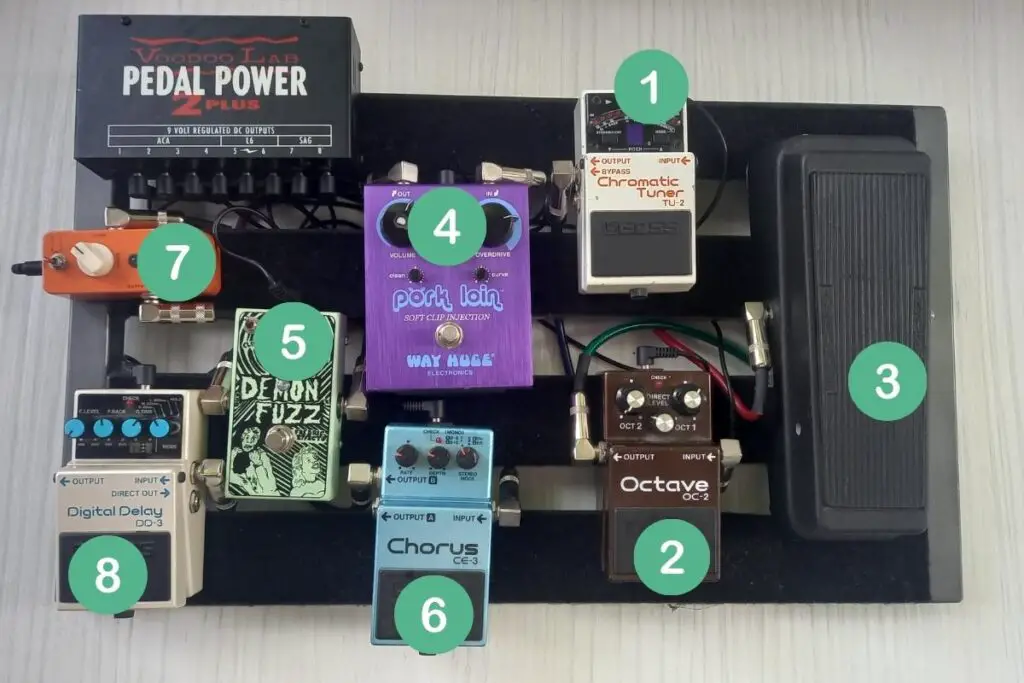

Here is the correct sequence of pedals for this configuration:
1. Tuner pedal
The tuner pedal needs a clean signal directly from the guitar to function properly. I’ve never seen a pedal chain without having the tuner first (and I can’t think of a reason why it wouldn’t be!).
2. Pitch modifiers
Next up are the pitch modifiers. Pedals like an octaver or pitch-shifter go here as they work best on a clean signal. Putting them after noisy pedals, like fuzz, can introduce some weird sound artefacts. It could be worth trying if you’re looking for a lo-fi sound, but for most of us, they belong here.
There’s no order that pitch modifiers need to be set up.
3. Filters
Wah-wah pedals and other filter effects pedals that add tone or modulation should come next in the pedal chain. These pedals should apply their modulation and tone-enhancing effects before any distortion.
I always recommend putting the wah-wah straight after any pitch modifiers. Compressors, noise gates, and EQ can go in different places in the chain – depending on what you’re trying to do. Put them here for the time being until you begin experimenting to find your own sound.
4. Gain
Any pedal that creates some level of distortion, like a fuzz, overdrive, or distortion pedal should come next. Distortion pedals add a lot of harmonics to your signal, so it’s crucial that these come after any filters that might filter them out! It’s the secret to getting a fuller guitar tone.
I always put my overdrive pedal straight after the filters, and any distortion and fuzz afterwards. My reasoning for this is that I order them in terms of impact to the signal. Overdrive is a lot subtler and fuzz is much more obvious. The overdrive drives the signal harder into the fuzz, which gives it some more grit.
5. Modulation
Now come the modulation pedals. Effects like chorus and phasers should go after distortion but before time based effects. Putting them before distortion or after time effects will sound unnatural and messy. Again, some people might be into it!
For modulation pedals, I put my chorus first, then my phaser, followed by flanging and vibrato. Again, I stack them in terms of their impact on the signal. The bigger the impact, the later they go!
6. Time effects
Last up we have the time effects. These take the signal and repeat it in some way to create a sense of atmosphere. So, you’ll want to ensure that it’s receiving the final version of the signal.
For the order, you’ll want to follow: delay then reverb every time. The reverb at the end creates a sense of space and atmosphere that was to be applied to the whole signal.
Once you’re comfortable with your sound – mix it up! As with anything in music, you should try out different combinations and see what works for you. It might sound terrible, or you could find a tone that works for you.
Top tip: Record yourself playing through different pedal chain orders. This is a great way to compare setups to identify what sounds good, and what doesn’t.
Practical tips for setting up your pedal chain
So, you’ve got the pedal order sorted – but there’s still some things you need to know that will help you get more out of your pedal chain.
Use a pedalboard
A pedalboard is a tool that helps keep your pedals organized and in one place. It’s pretty much an essential for any guitarist looking to take their playing to the next level. These boards keep your pedals firmly in place (usually with velcro) to stop them moving out of order or having their cables pulled out.
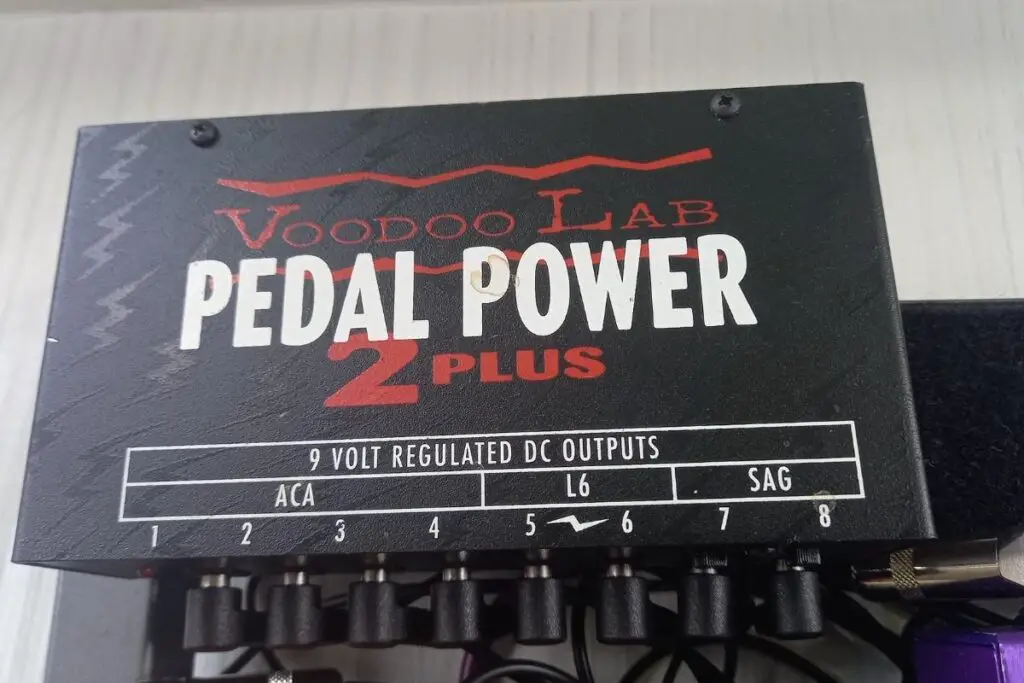
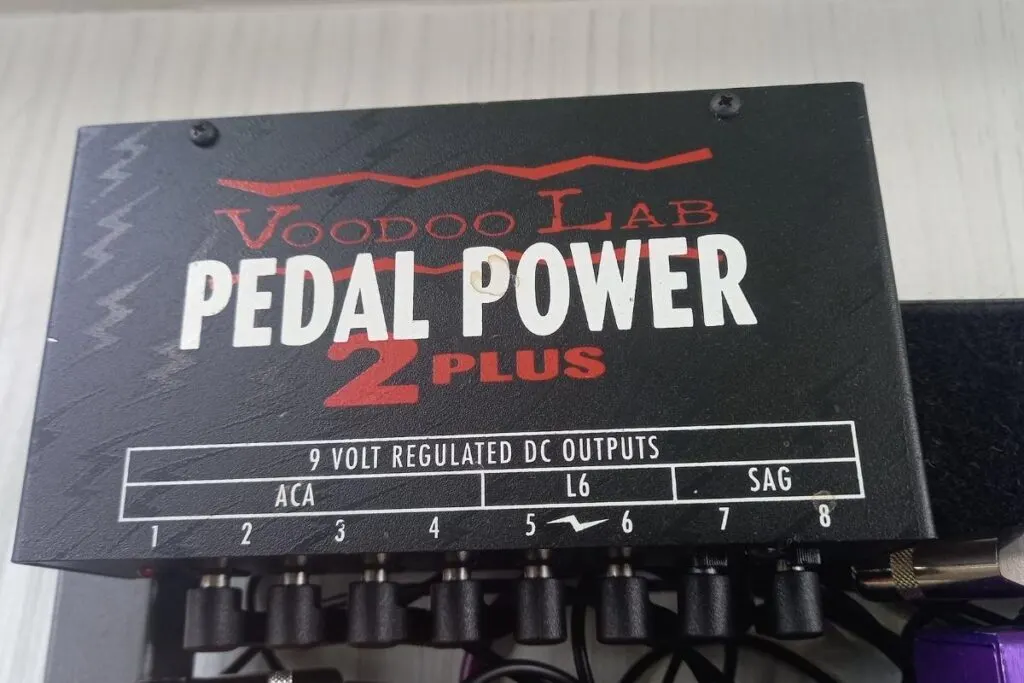
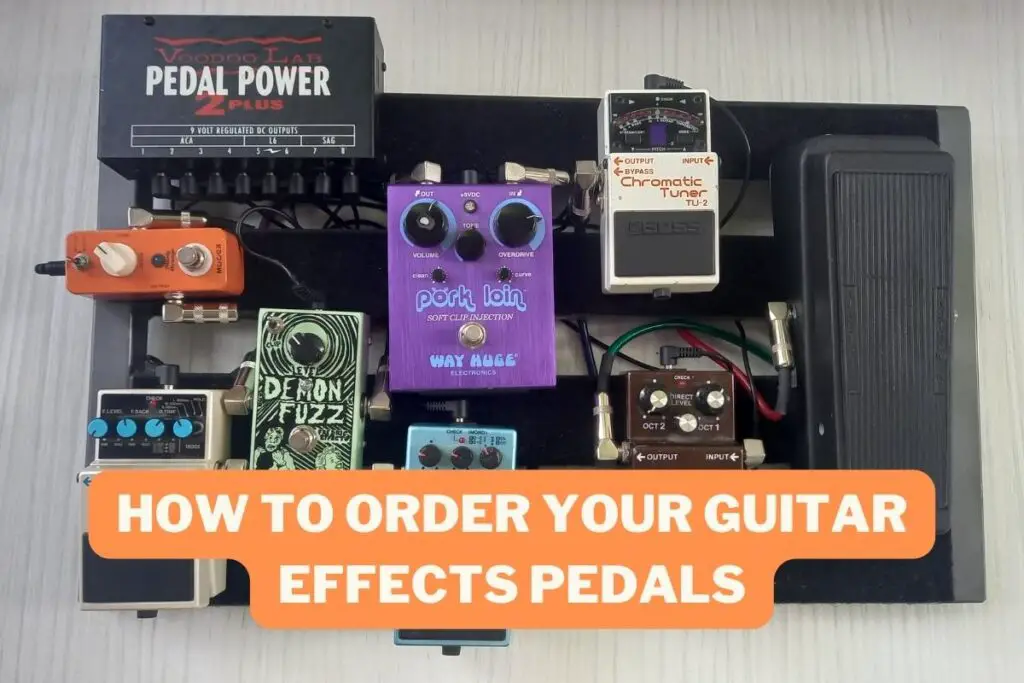
Not only that, but they’re a great way to mount a dedicated power supply for your pedals. Having a dedicated power supply for each pedal is a much better solution than “daisy chaining” power from a single 9v adaptor. I use the VoodooLab Pedal Power 2, as it’s a great supply for both my new and vintage pedals (and can even simulate the effect of an old battery!).
Ultimately, pedalboards are great for guitarists looking for the convenience of having their pedals set up and ready to go for practice or performance.
I use a “Pedaltrain” pedalboard, which has worked great for me over the years. But, to be honest, there are budget options available nowadays that are equally as good. A pedalboard like the Luvay Guitar Pedal Board will work just as well and is at a great price point for beginners. Check it out here on Amazon.
Gain stage your pedals
Gain staging refers to how you use the gain (the signals strength) across a signal chain. In terms of a pedal chain, gain staging can mean a couple of things. The first, and most common usage, is “stacking”, which generally means how your pedals interact with each other. A good example of this is how I use my overdrive and fuzz. I have my overdrive pedal before my fuzz, which means that I can turn on my overdrive to increase the signal going into my fuzz and make it sound heavier. By stacking the pedals, commonly with overdrive or a booster, you can drive the following pedals and your amp harder.


There’s also another factor of gain staging that’s based more on music production principles. That’s balancing the gain across the entire signal path. By balancing the gain, you’ll have a similar level of volume whether your pedals are on or off. This is a great habit to get into ahead of live performances (the sound person will thank you!). Here’s how I gain stage my pedals.
Firstly, I start with the clean signal and set my amp to a volume that I’m happy with. Next, I’ll switch on my overdrive pedal and get it to sound the way I want. For me, I want it to drive my amp, but still have it a similar volume to the clean signal. After this, with the distortion still on, I’ll turn on the pedals that come before it. I’ll adjust their volume depending if they’re too loud or too quiet. Lastly, I’ll turn on the remaining pedals and adjust the volumes to the desired level.
It can be a bit tricky to get started with, but it’s a great skill to learn.
True bypass vs buffered bypass
Guitar pedals come with either true bypass or buffered bypass, which is to do with how they process the signal when switched off.
True bypass pedals will pass the signal directly from the input to the output, meaning that your signal travels a shorter distance, which can preserve the tone of the signal. It also means that if the pedal loses power, the signal will still pass through the pedal (as long as the pedal is turned off!).
A buffered bypass, however, always has the signal running through a powered part of the circuit. This means that if the pedal loses power, it won’t pass the signal along, so your guitar will cut out. It also affects where you might place it in the signal chain.
Knowing whether your pedal is true bypass or buffered bypass can help you get a better understanding of your pedal chain setup. Here’s a great article by GuitarWorld that goes into more detail.
Use patch cables
Patch cables are leads that are much shorter than guitar cables. Back when I was learning guitar, I’d connect my few pedals together using guitar cables. Little did I know, this was hurting my tone!
The further a signal has to travel, the weaker it becomes. This manifests in less high end frequencies in a guitar signal, which can make it sound muddy and less clear. Patch cables are around 6 inches, which reducse the length that your guitar signal has to travel, preserving its tone.
I use a mixed bag of patch cables that I’ve built up over the years. You don’t need to pay a lot of money, as I’ve found even the cheaper ones tend to last a long time. However, I do recommend getting thinner patch cables. Thinner cables make it easier to connect pedals together on a pedalboard, as they can bend easier without “pushing back” against the pedal. If you’re looking to get started with patch cables, check out these Donner patch cables on Amazon.
Conclusion
Pedal chains are a great way for guitarists to shape their tone, and learning how to set them up properly is essential. Over time, you’ll probably develop your own method for arranging your pedals that works best for you, but it’s important to have a solid starting point.
Knowing what your guitar pedal does to your signal is key to figuring out where it should go in the pedal chain. Likewise, listening and recording your pedal chain will help you find what sounds best to you.
Finally, having a dedicated pedalboard and power supply will really help you on your musical journey. They’re a great way of keeping everything neat, in order, and ready to go – and patch cables will save your tone from being sucked dry of trebel!


Conor is a music producer, multi-instrumentalist, and all-round enthusiast from the UK with over 15 years of experience. He’s the founder and sole-content creator for the roundtable audio blog and YouTube channel.