
Knowing how to adjust the intonation on a bass guitar is an essential skill to getting the best performance out of your bass – and it’s easy to do, once you know how!
Having my bass’s intonation set properly means that I know the notes I’m playing are always in tune, wherever I play them on the fretboard.
In this guide, I’ll show you my easy step-by-step process to setting the intonation on a bass guitar, which will have your bass playing and sounding better than before.
Affiliate disclaimer: This page contains affiliate links for products that I’ve tried and tested. As an Amazon Associate I earn from qualifying purchases at no additional cost to you. Learn more here.
Equipment Needed
Before getting started, you’re going to need the following equipment:
- New bass strings
- A guitar set-up kit (including precision ruler (scaled to 1/32nd”), a capo, and feeler gauges)
- A hex key (one should have come with your bass, if not – a quick Google should tell you the size needed)
- A guitar/bass tuner
If you don’t have these, I’ve linked the gear that I used for this article:
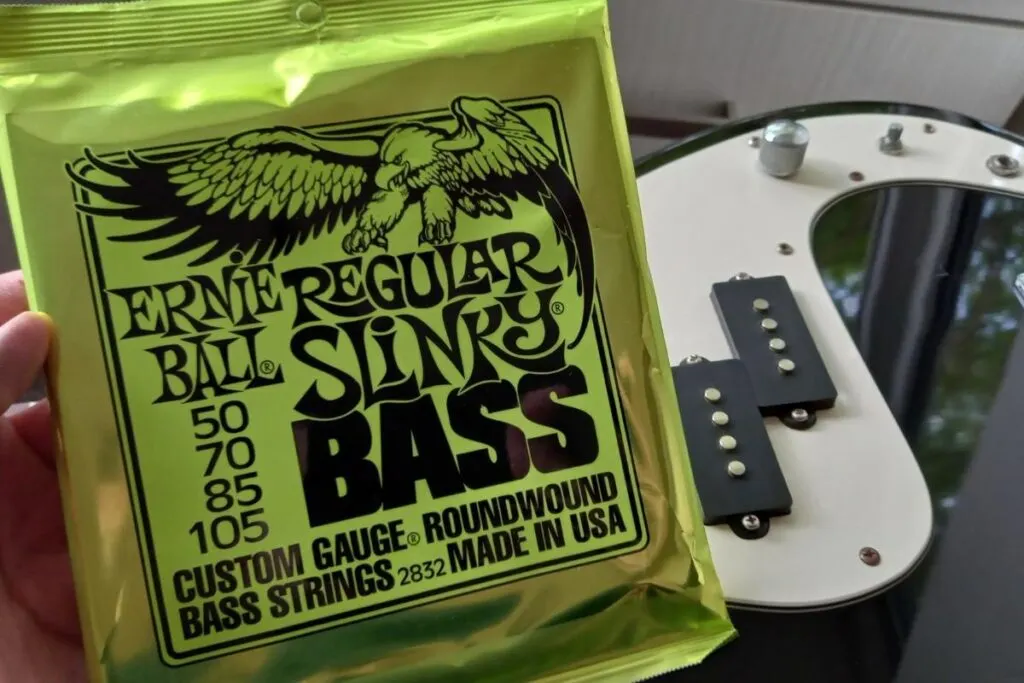
- Ernie Ball Regular Slinky strings (Amazon)
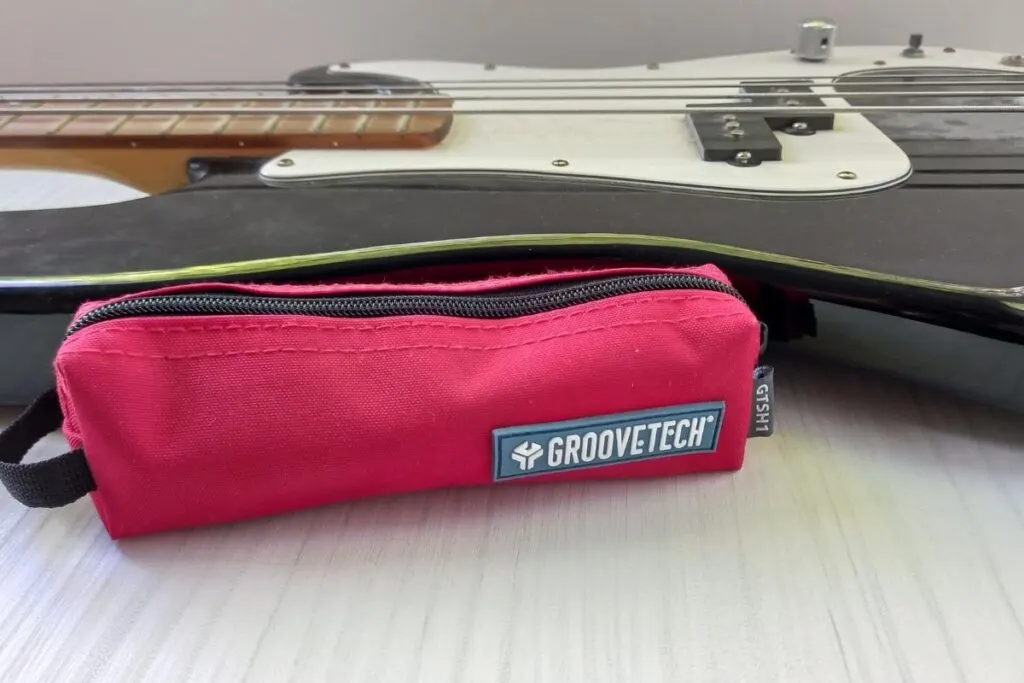
- CruzTools Stagehand Compact Tech Kit (GTSH1) (Amazon)
- Boss TU-3 Chromatic Tuner (Amazon)


Step 1: Put on new strings
The first step in setting the intonation on your bass guitar is getting rid of your old strings.
Over time, the strings on your bass guitar can get damaged, lose their tension from continuous stretching, and become covered with built up grime and dirt. All of this will affect their intonation.
So, trying to adjust the intonation on your bass guitar with old strings will quite frankly be a waste of time, as the intonation simply won’t hold.
New strings will not only feel great, but they’ll sound great and will play a significant role in properly setting the intonation of your beloved bass guitar.
Bass strings are notoriously pricey, especially compared to electric guitar strings. However, thanks to their chunky size, they typically last longer and are ultimately well worth the investment.
It goes without saying, but using a good quality set of strings is essential.
I restrung my bass when writing this article using Ernie Ball Regular Slinky strings from Amazon.

Top tip: Now’s also a good time to clean your bass guitar’s fretboard, before you put your new strings on.
Step 2: Check the neck relief
Once you’ve put a new set of strings, the next thing that you’ll want to check is your bass guitar’s neck relief.
Neck relief refers to the slight concave bow of your bass guitar’s neck that allows the strings to vibrate without causing any buzzing.
It’s important to understand that changing your strings can affect your guitar neck relief, and that your guitar’s neck relief can affect the intonation of your bass guitar – so now’s a great time to make sure that everything is set up right.
To check your bass’s neck relief, you’ll need a guitar setup kit. The kit I use is the CruzTools Stagehand Compact Tech Kit (GTSH1) (from Amazon).
I do a fair amount of guitar maintenance, and spent a long time researching for a kit that would give me both the quality and range of tools I needed. Other kits are available, but based on personal experience, I highly recommend this one.

Before checking your neck relief, you’ll need to tune your bass guitar. It’s critical to get it in tune to ensure that there’s the right amount of tension on the neck.
I recommend using the Boss TU-3 Chromatic Tuner (on Amazon). I’ve been using the previous TU-2 model for about 10 years now. It’s hands-down the best tuner I’ve owned as it’s both incredibly accurate and easy to read – it’s an industry standard for a reason!
If you’re on a budget, the Korg GA-50 is a cheaper alternative that many guitarists (including myself!) use as their first tuner.


Measuring the neck relief
Now your guitar’s in tune, there’s two ways you can check the neck relief on your bass guitar.
The first is the “eye” method, which involves looking down the fretboard of your bass to monitor the neck relief bow. I don’t recommend doing this, however, as it isn’t very accurate – especially if you’re just getting started.
Instead, I recommend using feeler gauges to accurately measure the neck relief.
To do this, put the guitar capo on the 1st fret of the guitar, then press the 14th or 15th fret of the top string with your right hand.

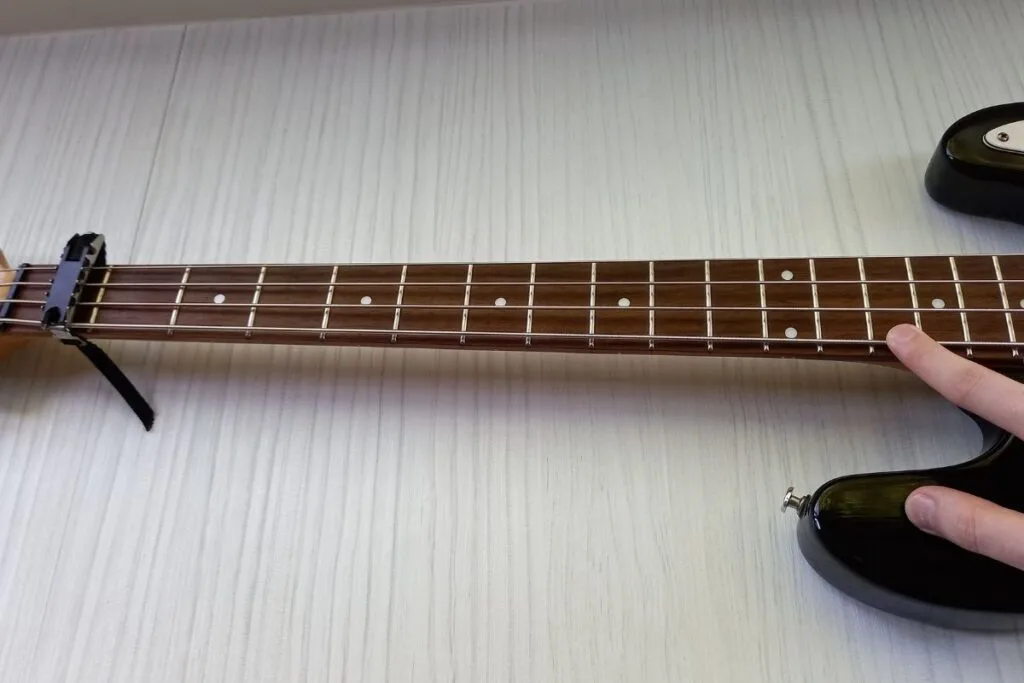
At the 8th fret, we’re going to measure the gap between the bottom of the string and the top of your fret using the feeler gauges from the guitar kit.
The size of the feeler gauge you need to use will depend on your bass guitar’s fretboard radius.
- For a radius of around 7.25”, use a .014” (0.35 mm) gauge.
- If it’s between 9.5” and 12”, use a .012” (0.3 mm) gauge.
- For anything over 12”, use a .010” (0.25 mm) gauge.
If you’re not sure on your guitar’s fretboard radius, I recommend either giving it a quick search online or contacting your manufacturer. If this isn’t possible, then just use a .014” (0.35 mm) gauge.
To measure the gap, take a feeler gauge with your free hand and pass it between the top of the fretwire and the guitar string.

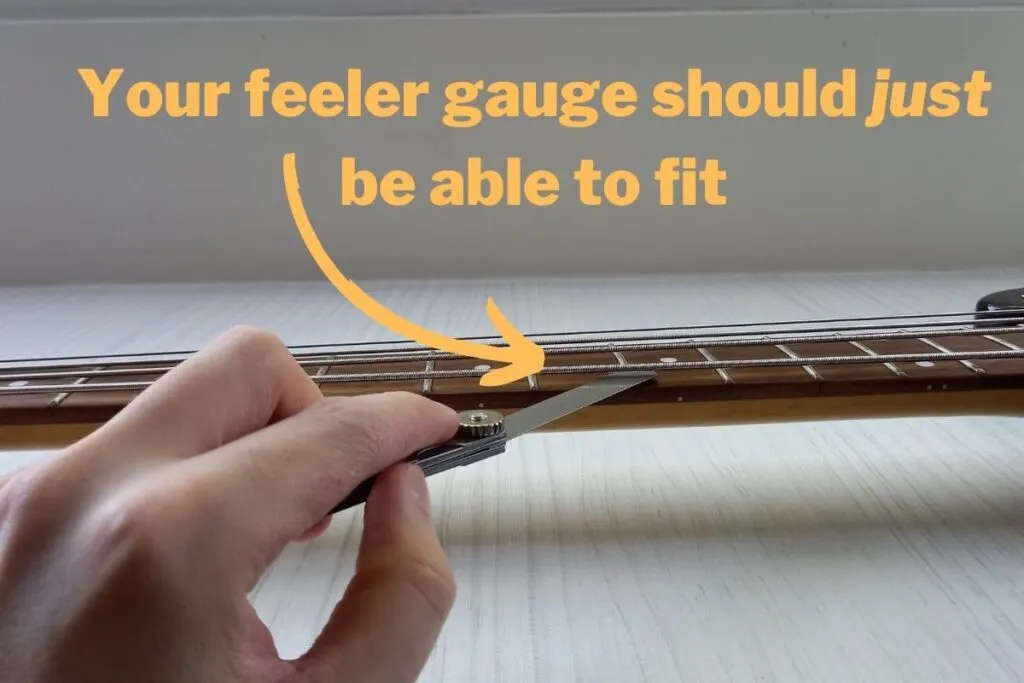
If there’s no space for it to pass through, or a lot of friction, then there’s not enough neck relief.
If there’s too much space, it may mean that your action could be very high, or you need to adjust your bass’s neck. Head on over to step 3 to check your action, then come back here to set your neck relief.
Adjusting the neck relief
Adjusting the neck relief on your bass requires an adjustment of the guitar’s truss rod: the strong metal pole that runs the length of the neck to counter the pressure from the strings.
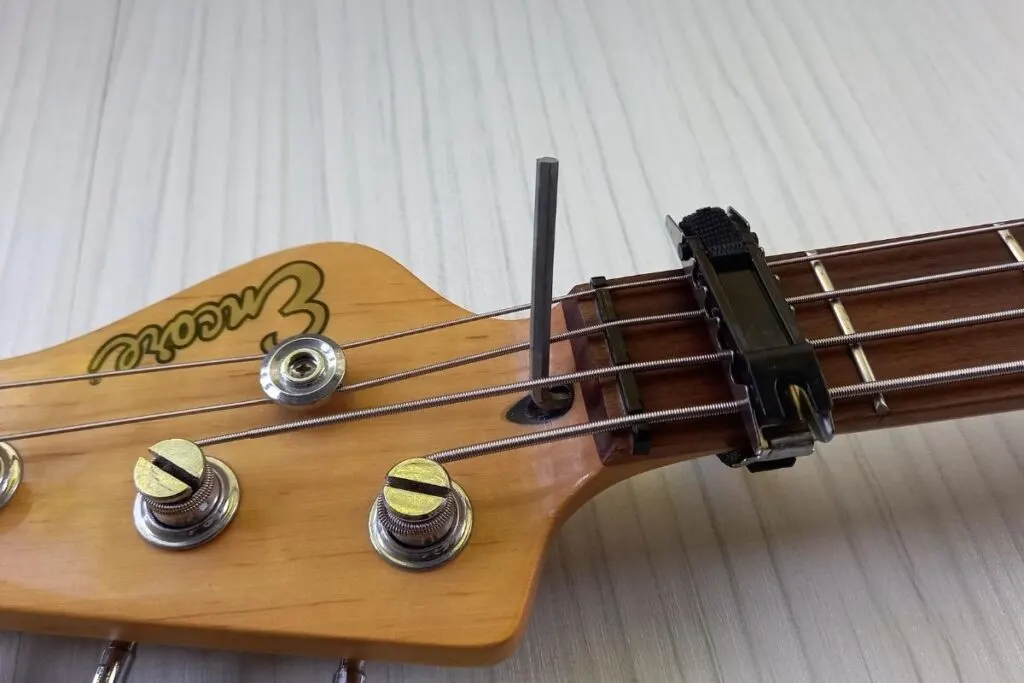
To adjust the truss rod, you’ll need to use a hex wrench (also called an Allen key) in the slot, usually at the top of the neck just above the nut.
Important note: Truss rod adjustments should be small and done with caution. Only make a quarter turn at a time and never force it.
Mishandling the truss rod can cause damage to your bass guitar. If you do not feel comfortable making this adjustment, take your bass to a professional.
To reduce the neck relief, tighten the truss rod (clockwise). Alternatively, if there is not enough neck relief, loosen the truss rod (counter-clockwise). Again, only make quarter turns at a time, and never try to force the truss rod to move.

After doing this, tune up your guitar and check the neck relief again.
Step 3: Check the action
The next thing to check is the action on your bass guitar. This refers to the height of the strings from the frets.
Most bass players (myself included) enjoy a relatively low action since it minimizes how hard you need to press the string, which makes playing easier. A high action, on the other hand, means that you’ll be pushing a lot harder which can negatively affect your bass’s intonation.
When playing bass, fretting the strings should feel as effortless as possible – so having the right action will make it both feel better and sound better.
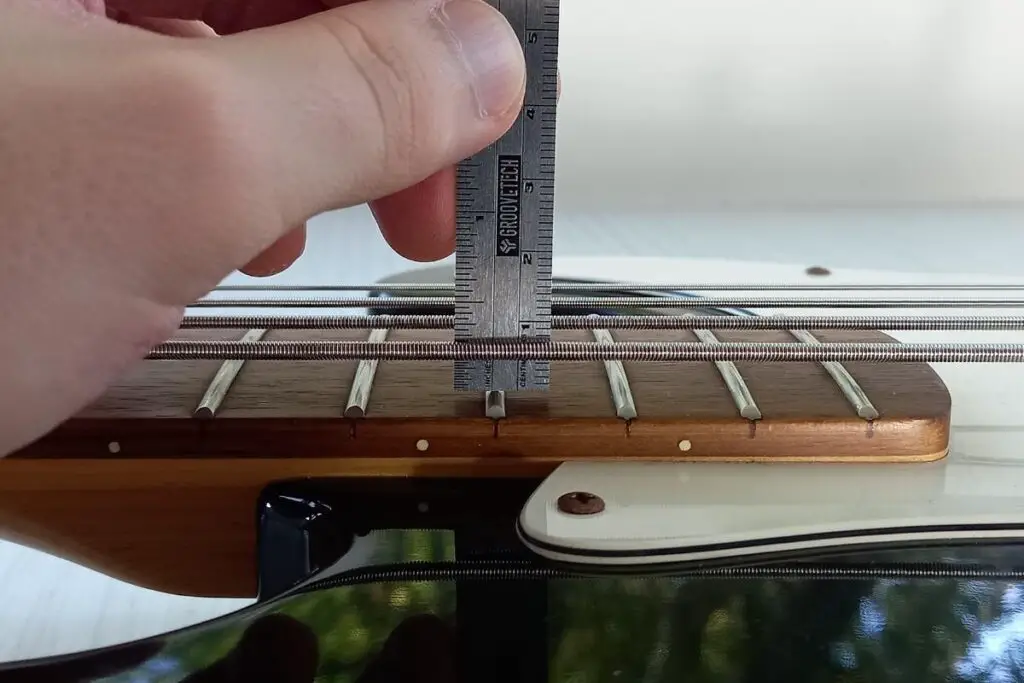
Your action is mostly changed at the bridge. To do this, place the capo on the first fret again and take your ruler and measure the gap between the bottom of the string and the top of the 17th fret.
For a bass, this distance should be around 3/32” (2.38mm) for each string. But, this isn’t set in stone.
Simply start with 3/32″, and adjust your action to how you like to play. Don’t go too though, however, or you’ll get fret buzz.

Adjusting it is really simple. Most bass bridges, like mine, have hex nuts to adjust the saddle. Turn the saddle nut clockwise to raise it, and anti-clockwise to lower it.
Again, I recommend starting with minor adjustments and letting the bass settle for a few minutes before further tweaking. Once it’s ready, tune your guitar up and measure again.
Adjusting your action is done using a combination of a truss rod adjustment (covered in the previous step) and adjusting the height of the saddles on the bridge – so don’t worry if you go back-and-forth between steps 2 and 3 a few times.
Step 4: Play the 12th fret to measure intonation
Once your bass is back in tune, and the action adjusted, it’s finally time to measure the intonation.
The most reliable way I’ve found to measure intonation is by playing the 12th fret on the bass and ensuring that it’s perfectly in tune with the open string (since these are the same note, only an octave apart.) Repeat this for each string.
If the note displays as either slightly flat or sharp, then unfortunately your intonation is out and you’ll need to go to the next step and make some adjustments.
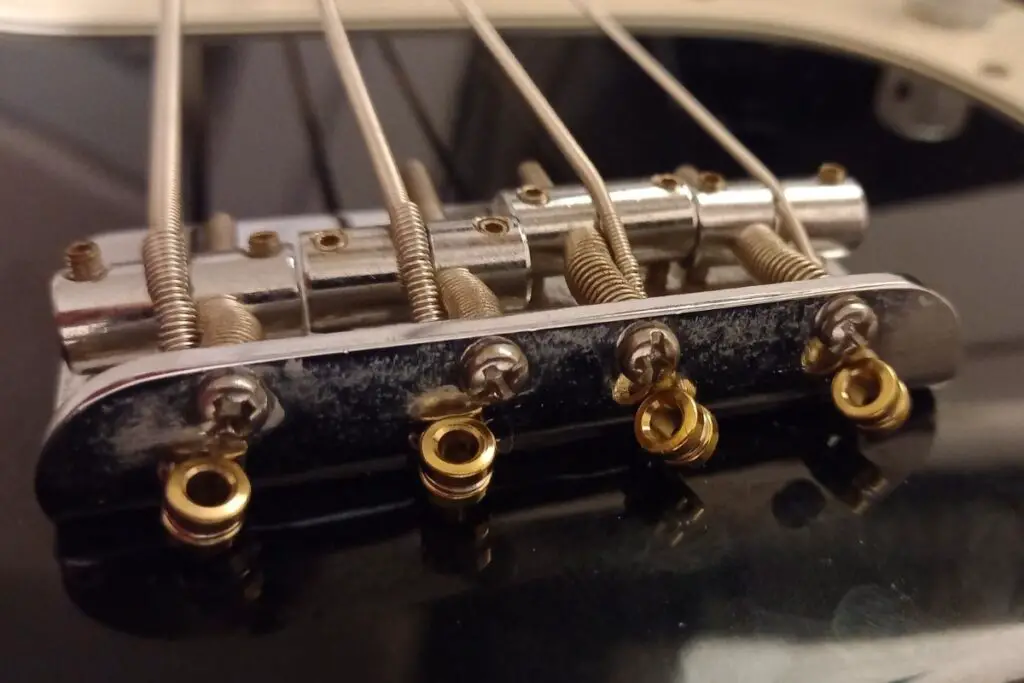
Step 5: Adjust the saddles for intonation
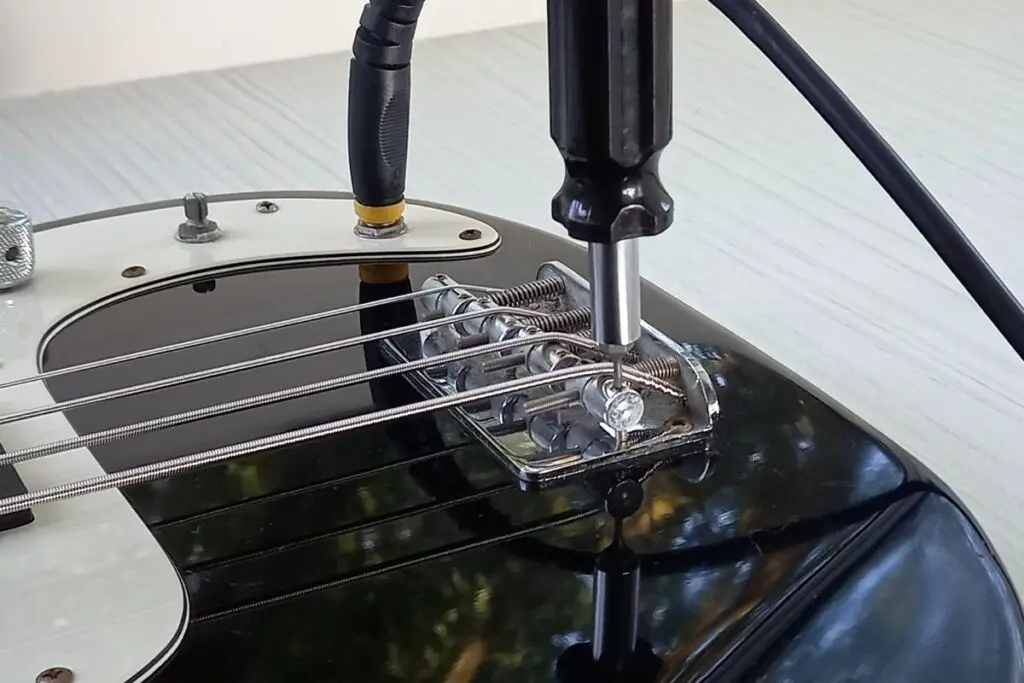
If your intonation is slightly flat or sharp at the 12th fret, you’re going to have to adjust the saddles on your bridge.
Different bass’s will have different screw types on the saddles – you can see that mine uses a Philips head screwdriver. Make sure you use the right fitting for your bass, as you don’t want to damage any screws.

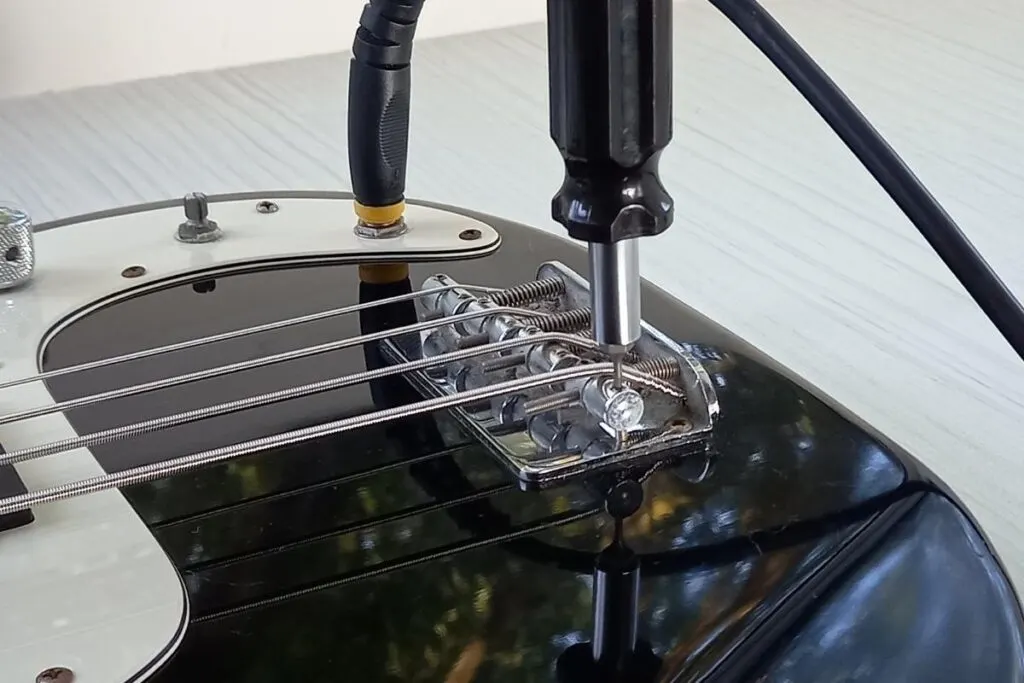
If the 12th fret on your string is sharp (past where it should be), then you need to move the saddle further away from the neck on that particular string. To do this, tighten the saddle by turning the screw clockwise.
Alternatively, if the fretted note is flat (below where it should be), then you need to move the saddle closer to the neck. To do this, turn the screw anti-clockwise.
Once again, your adjustments should be minor, and after each adjustment, ensure that you retune your bass before rechecking the intonation.
And that’s it! Adjusting the intonation on your bass is a very precise task, but it’ll be rewarding to both your ears and the quality of your playing once it is perfected!


Conor is a music producer, multi-instrumentalist, and all-round enthusiast from the UK with over 15 years of experience. He’s the founder and sole-content creator for the roundtable audio blog and YouTube channel.