
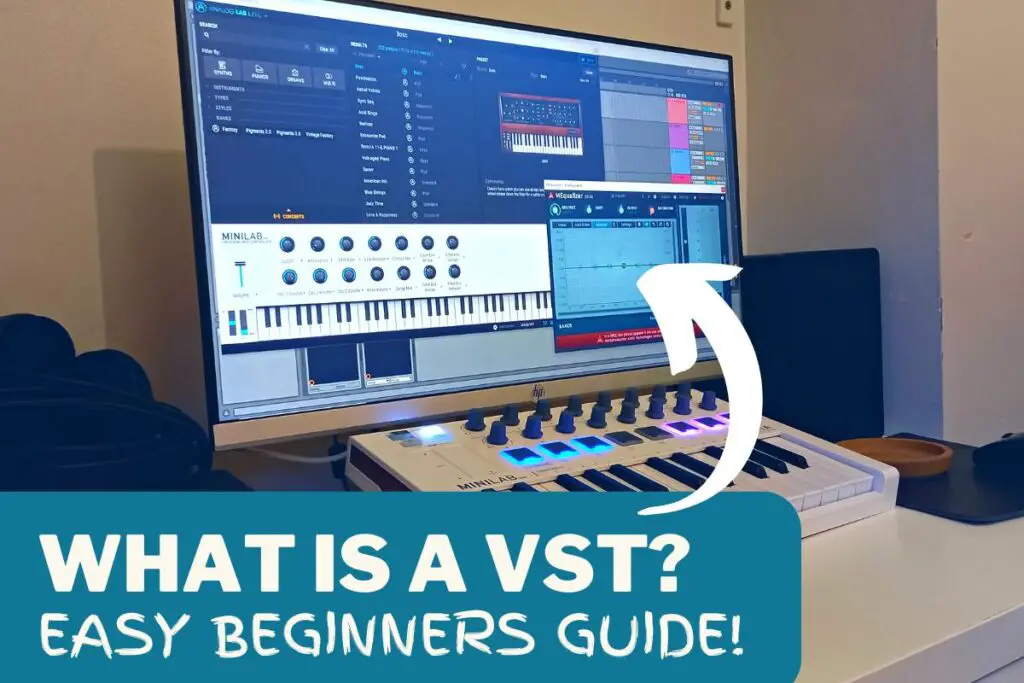
If you’re just getting started with music production, then you’ve probably come across “VSTs” and have what all the fuss is about.
Simply put, VSTs are little pieces of software that provide an essential and versatile role for modern music production. From creating sounds, to adding effects, VSTs can do it all.
As someone who’s constantly using VSTs to make music, I’ve written this guide to cover everything you need to know about VSTs, including what they are, why you should use them, and how to use them.
I’ve also added some of my personal tips and tricks for using VSTs that I’ve picked up over the years to give you a headstart!
What is a VST?
A VST (which stands for “Virtual Studio Technology”) is a piece of software that’s used in music production.
VSTs are what’s known as a plug-in, meaning that they’re used within another piece of software, usually a Digital Audio Workstation (DAW). That’s why you’ll sometimes hear people refer to VSTs as “plug-ins”.
They have a wide range of uses, most commonly:
- Producing sounds (e.g. synthesizers, drums, etc)
- Adding effects (e.g. reverb, delay, etc)
- Mixing and mastering tools (e.g. compression, equalization, etc)
- Changing and sending MIDI data (e.g. arpeggiators, velocity, etc)
There are so many different types and uses for VSTs that the possibilities really are endless. Nowadays, many songs and albums are produced using nothing but VSTs.

To put it into some context, you might use a VST that emulates the sound of a synthesizer to create and record a synth bassline. You might then use a reverb effect VST to add some space to the sound.
Now, to get a little bit technical, only Windows uses “VST” type plug-ins. Mac uses plug-ins called Audio Units (AU). Pro Tools, which is a Mac exclusive DAW, even has its own type of plug-in type called an AAX. All of these plug-ins do the same thing – they’re just coded differently for the different operating systems.
But, like how “Hoover” became the catch-all term for “vacuum cleaner”, people tend to just use “VST” to refer to these plug-ins as a whole.
There’s three types of VST that you’ll need to know about:
- VST instruments
- VST effects
- VST MIDI effects
VST instruments
A VST instrument (technically called a VSTi) is a VST that generates a sound. It could be a synthesizer, violin, guitar, drums… anything! There’s a VST for pretty much any instrument out there.
So, if you’re looking to record a piano sound, you can just grab a piano VST, put it in your DAW, plug in your MIDI keyboard, and get playing.
As you can imagine, this makes music production much more accessible as you have access to almost any instrument in the world at your fingertips.


Not only this, but VST instruments are often much cheaper than the instruments they’re emulating. This is especially true if you’re looking to record large orchestral pieces or vintage, yester-year synthesizer sounds.
Finally, as VST instruments are contained within your PC, they save a lot of space. So, instead of needing a large studio for production, you only need somewhere to set up your PC.
You can see how these reasons make VST instruments particularly attractive to beginner music producers.
But, it’s not just all about recording. You can use VST instruments for live performances as well. This is common with hip-hop, EDM, and other beatmakers.
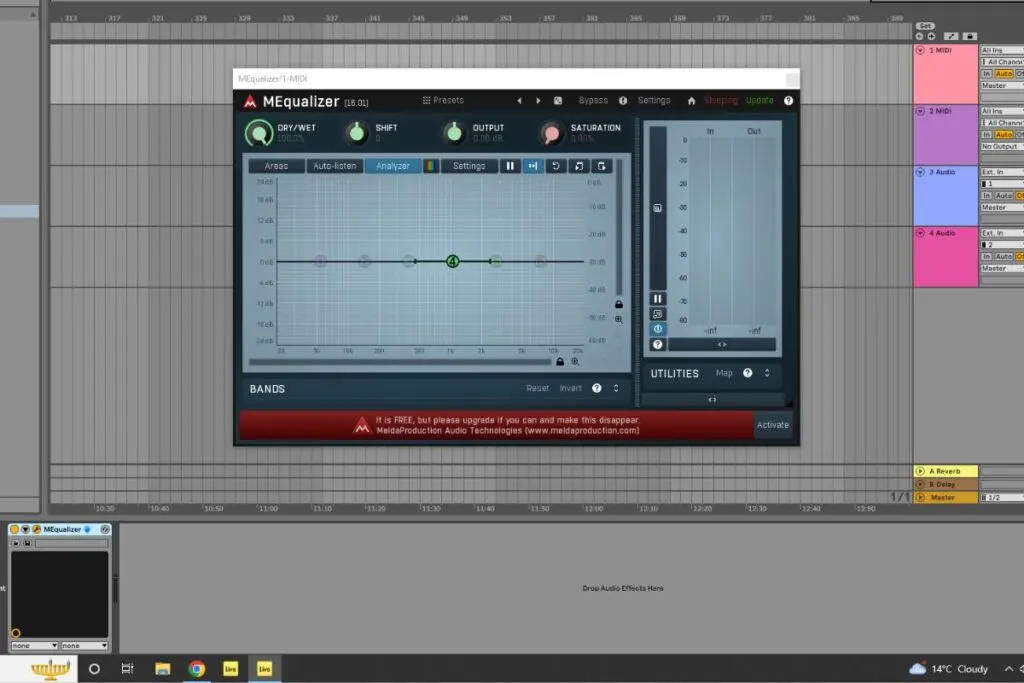
VST effects
Unlike a VST instrument, a VST effect plug-in doesn’t generate any noises. Instead, it processes any sound going into it, changing it in some way.
This can be modulation effects, like reverb, chorus, or delay. They can also be used for mixing and mastering, like compression, limiters, and equalizers.

These VSTs replace the need for large, outboard effects processors that were used back in the day. Again, this saves a lot of money and space.
Another use for VST effect is electric guitar amplifier modeling. These VSTs take an incoming guitar signal and emulate different types of famous amplifiers. In some cases, these are very faithful emulations.
But, these VSTs can be very processor-hungry and quickly overwhelm your PC. Fortunately, you can make use of send and return channels to use these effects more efficiently, which I’ll cover shortly.
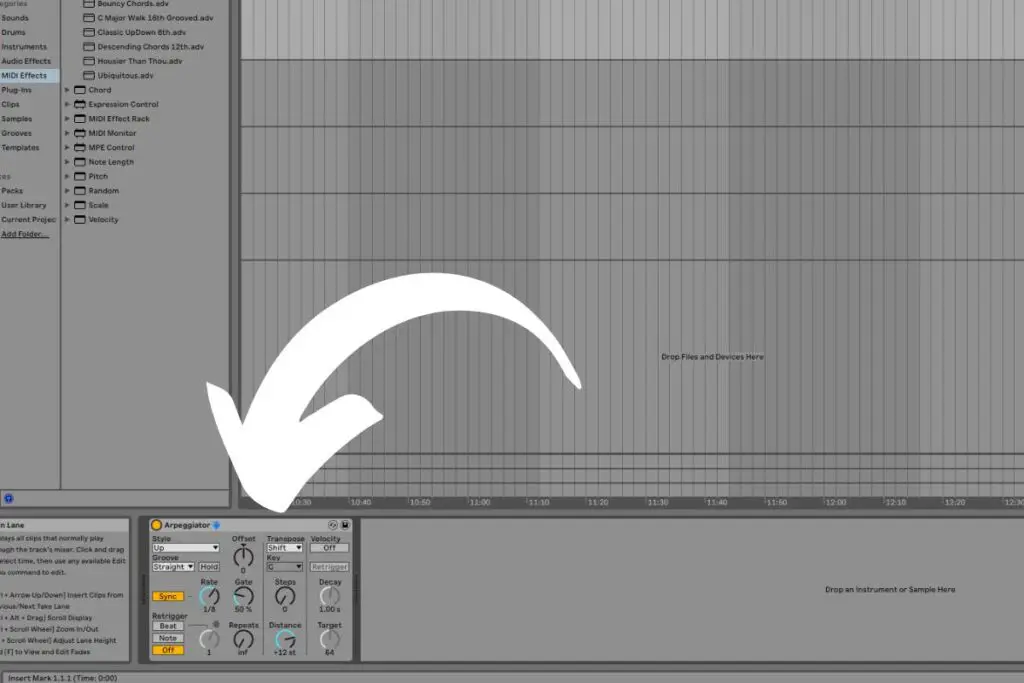
VST MIDI effects
The final type of VST is VST MIDI effects. These take a MIDI signal and change it. It can then be sent onto another VST, or even to a hardware instrument.
They have a wide range of uses, some of the most common being to generate arpeggios, transposing, and change velocity.

If you’re not familiar with music production, this type of VST can seem a bit more abstract. So, I’ll share a couple of examples:
- I’ll often use an arpeggiator VST to send MIDI messages to my hardware synthesizer. This lets me play arpeggios on my synth, as it doesn’t have a built in arpeggiator
- I’ll sometimes use a randomizer to generate random notes. I’ll send this onto my synth VST instrument to generate some random sounds.
Using a VST MIDI effect is a powerful way to control both software and hardware instruments, and lets you get a lot more out of them.
It’s also a useful tool to make VST instruments sound more “human”. By modulating the MIDI messages, and creating very slight variations, it changes how the VST instrument sounds – making it sound less perfect, and therefore more “real” to the human ear.
Why use VSTs?
VSTs have become an essential tool for modern day music production. The biggest benefit is that they lower the barrier to entry for beginner music producers, allowing anyone with a computer the potential to create music without needing a lot of money or space to get started.
Let’s take a look at some of the benefits, and drawbacks, of using VSTs.
Benefits of using VSTs
- Accessible: VSTs make music so much more accessible to everyone. You don’t need to own an instrument to get its sound. Just download a VST, and away you go!
- Affordable: One of the biggest benefits of VSTs is that they can emulate expensive or discontinued gear (e.g. synthesizers like the Yamaha CS-80 or Moog Model D) making getting these sounds much more affordable. An emulation plugin will always be much more affordable than whatever it’s modelled after.
- Efficient: Most plug-ins come with presets, so you can save your settings and bring them back at the click of a button. Also, using plug-ins removes the complication of routing a signal using wires.
- Flexible: Using plug-ins allows for the complete beginning-to-end production of music on your computer. Not only does this save space, but it also means that you effectively have a portable studio!
Drawbacks of using VSTs
- CPU intensive: VSTs require computing power to work. Using multiple VSTs at the same time can put a strain on your computer’s CPU. When your CPU reaches capacity, it won’t be able to work properly, which will cause playback and recording issues. Comparatively, recording the audio from a live instrument uses very little CPU power.
- Limited resale value: Unlike physical pieces of gear, VSTs have a limited resale value. So, if you spend a few hundred dollars on a VST, you’ll get a lot less when you sell it. Selling them, and transferring licenses is also a hassle.
- Quality: Probably the biggest drawback of VSTs is that they can sound poor quality, especially the free or cheap ones. While you can get some very convincing VSTs, you’ll usually have to pay a bit of money for them.
How to use a VST
Using a VST is really simple, all you need is your VST and a DAW.
It depends on what type of VST you’re using, and what you want to do, so here’s a guide for each type of VST.
How to use a VST instrument
- Open your DAW
- Find the VST instrument
- Add the VST instrument to a track
- Arm the track for recording
- To hear the VST live, turn on live monitoring
As a tip, I always recommend using a MIDI keyboard when working with VST instruments. It makes them much easier to use, and it feels more intuitive when playing them.
You can also play VST instruments without a DAW, using specialized software called a “VST host”. It’s essentially a very streamlined version of a DAW. This is really useful if you’re using VSTs for live performances, as your computer will work more efficiently.
How to use a VST effect
- Open your DAW
- Find the VST effect
- (Option 1) Add the VST effect to a track
- If you’re using the VST effect on a track with a VST instrument, make sure the effect is after the instrument in the chain
- (Option 2) Add the VST effect to a “Return” track.
- Use the “Send” function on your track to send a proportion of the signal to the return track
I’ve included two options here: one for adding a VST effect directly to a track, and another using send and return tracks. I’d always recommend using send and return tracks where possible. They’re incredibly useful, and will save you CPU if you’re using a lot of plugins. You can check out more about send and return tracks here.
Another thing worth noting is that effect tracks work in series. So, whichever effect is first in the chain will be the one that’s applied first. In most cases, your distortion effects should come first, then modulation (e.g. chorus, flanger, etc) then finally your space and time effects (e.g. reverb and delay).
How to use a VST MIDI effect
- Open your DAW
- Find the VST MIDI effect
- Add the VST MIDI effect to a track
- If you’re using this to affect a VST instrument, make sure the MIDI effect is before the VST instrument in the chain
- (Optional) If you want to send the MIDI data to an external instrument:
- Connect your external instrument to your DAW
- Go to your DAWs settings to check your external instrument is enabled
- Select the track and change the “output” to the external instrument
There are many different uses for MIDI effects that can really help improve your songs, especially when used with external instruments like synthesizers.
Where can you get VSTs?
Most DAWs will come with built-in VSTs, but these are usually pretty basic. So, you’ll eventually want to look at getting external VST plug-ins.
There are many places to get VSTs. As with any software, the most important thing is to make sure that you’re downloading it from a trustworthy site. If in doubt, always go directly to the manufacturer’s website.
If you’re just getting started, I’d recommend a quick Google search for the specific type of plug-in you’re looking for (e.g. “free synthesizer VST plugin”).
I’d also recommend picking up this free plugin bundle from MeldaProductions. It includes a bunch of useful effects VSTs that I frequently use on my projects!
Also, it’s important to note that most modern DAWs will only work with 64-bit VSTs. So, make sure you’re downloading the 64-bit version, otherwise it won’t work.
Tips for using VST plug-ins
Now that you’re all set with VSTs, here’s some final tips that I’ve picked up over the years that will help you when using them:
- Use send and return tracks: I mentioned this earlier, but it’s a really important thing to know. By using send and return tracks, you can really save a lot of CPU power. For example, if you wanted to add reverb to each track in your mix, instead of adding a reverb VST onto each track, create a reverb return track. Now, you can send each track to that reverb. This means that you’re using only one plug-in instead of many.
- Freeze your tracks: Most DAWs have an option to “freeze” your tracks. This temporarily captures the audio of your track and stops any further processing until it’s unfrozen. So, you can get the sound of your VSTs and free up your CPU.
- Free VSTs: There are plenty of free VSTs out there. In fact, most DAWs (even free ones) have built-in VST plugins. I recommend having a quick Google search for “Free VST Plugins” and seeing what you can find.
Related questions
What is a VST host?
A VST host is a piece of software that allows you to use VSTs. Most people will use their Digital Audio Workstation (DAW) as a VST host. However, many live performers use dedicated VST host software for improved stability and simplicity.


Conor is a music producer, multi-instrumentalist, and all-round enthusiast from the UK with over 15 years of experience. He’s the founder and sole-content creator for the roundtable audio blog and YouTube channel.