
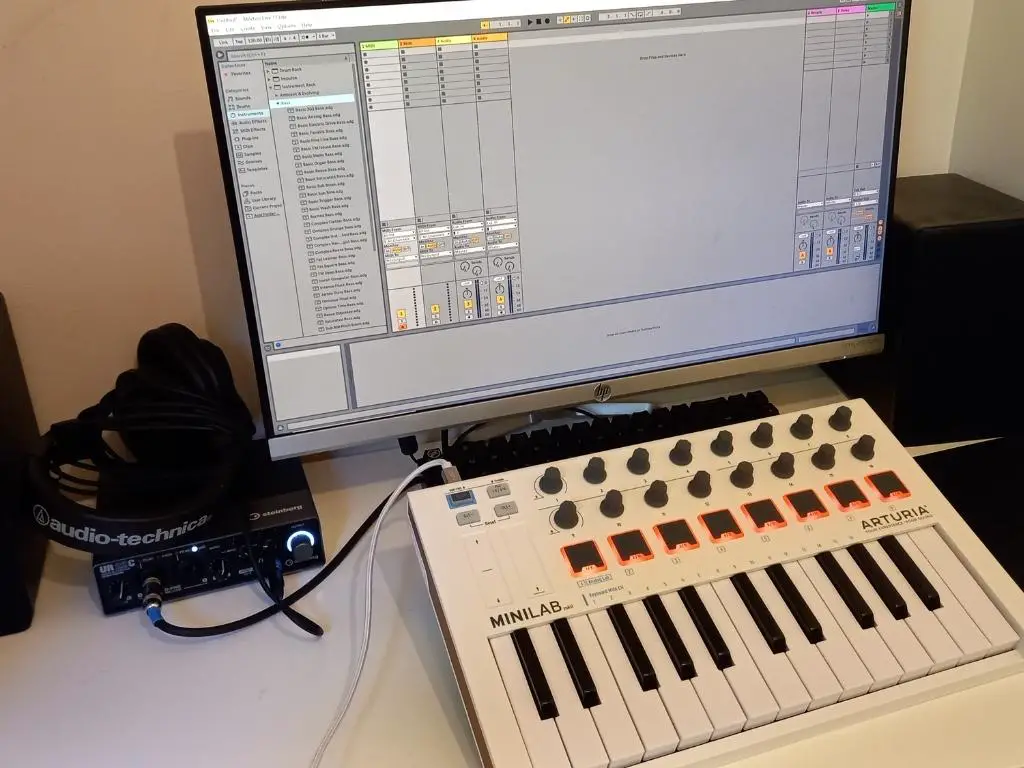
Connecting a MIDI keyboard to Ableton is an easy process that enables you to create music in an intuitive way. But, it can seem a bit overwhelming, especially for a beginner.
As a long-time Ableton user, I’ve created this simple, step-by-step guide to help you set up your MIDI keyboard with the latest version of Ableton: Ableton Live 11.
By the end of this guide, your MIDI keyboard will be all set up and ready to make music!

1) Connect your MIDI keyboard to your PC
I’ve written a quick guide on how to connect a MIDI keyboard to a PC that covers everything you need to know for this step.
2) Update the latest drivers, firmware, and software
Having the latest drivers, firmware, and software installed is essential for ensuring that your MIDI keyboard, Albeton, and PC are all working together properly.
- Ableton: Select the “Help” tab, then select “Check for updates“
- MIDI Keyboard: If your MIDI keyboard comes with specialized software to manage your device, then there is usually an option to check for updates. If not, Google search your MIDI keyboard name along with “updates” and select the link from your devices manufacturer
- PC: This depends on whether you’re using Windows or Mac
- Windows: Open “Settings”, then select “Update & Security“, then select “Check for updates“
- Mac: Open “System preferences”, then click “Software update“
9 out of 10 problems that I’ve had (and have helped other people with) with connecting MIDI devices is down to not having the latest updates installed.
3) Open the MIDI preferences section in Ableton Live
In Ableton, select the “Options” tab, then select “Preferences”, then select the “Link / Tempo / MIDI” option.
4) Enable your device in “MIDI Port”
Your MIDI keyboard should appear under the “MIDI ports” section. You’ll see 4 options:
- Track: Allows MIDI data to be sent. (Input: MIDI keyboard can send data to Ableton. Output: Ableton can send to MIDI keyboard)
- Sync: Will sync the clock between your MIDI keyboard and Ableton. (Input: Ableton syncs to MIDI keyboard’s clock. Output: MIDI keyboard syncs to Ableton’s clock)
- Remote: Allows for a MIDI device to remotely control Ableton parameters (Input: Knobs and buttons on the MIDI keyboard can be assigned to settings in Ableton. Output: Ableton can control the knobs and settings on your MIDI keyboard (if possible on your device))
- MPE: Stands for “MIDI Polyphonic Expression”. It allows you to change the expression of individual notes that are played together in real-time. (Input: MIDI keyboard sends MPE instructions to Ableton (if possible on your device)).
Enable your device to send MIDI data to Ableton by ticking the “Track” button on the “In” version of your MIDI keyboard (e.g. In: Midi Keyboard Name). You can also change any other settings here to fit your preferences.
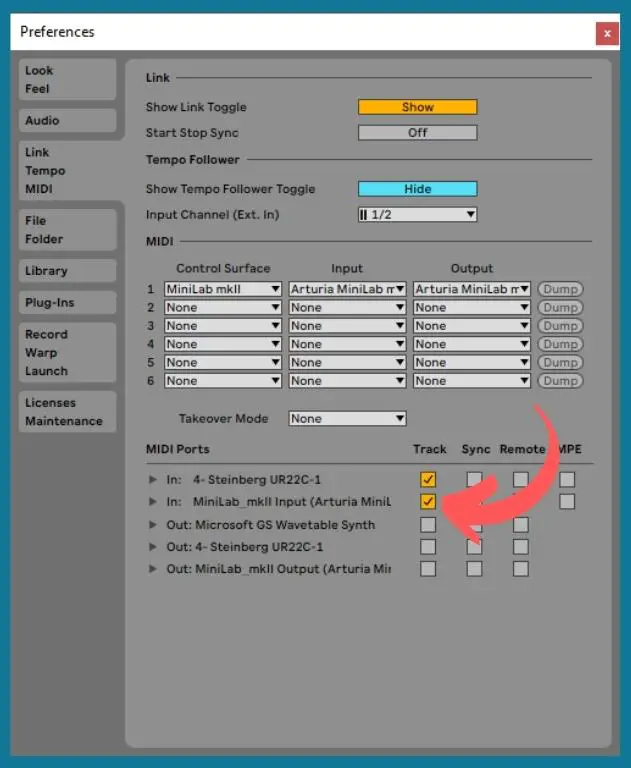
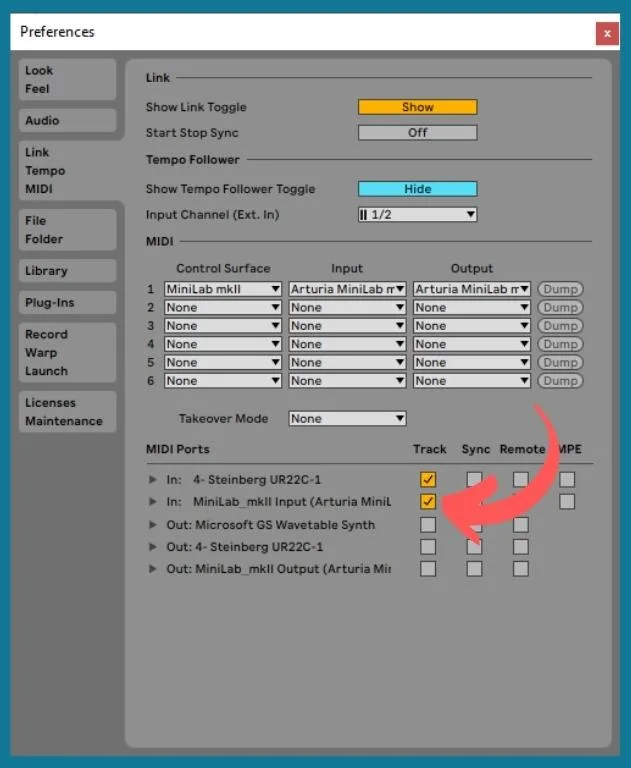
If your device doesn’t appear in the “MIDI ports” section, check out the FAQ at the end.
5) Check for a signal
Your MIDI device should now be connected to Ableton and able to send MIDI data.
You can check that it is working by pressing any button on your MIDI keyboard. There should be a yellow square light up at the top right of Ableton’s screen.

6) Set up a MIDI track
MIDI keyboards don’t make noise by themselves, they just send instructions that control MIDI-enabled devices.
To make some music, you’ll need to set up a virtual instrument to control.
- Create a MIDI track in Ableton by selecting the “Create” tab, then “Insert MIDI track” (or “Ctrl + Shift + T”)
- Next, arm the track by selecting the “Edit” tab, then select “Arm track” (or press “C”)
- Under the “MIDI from” section on the track, select your MIDI keyboard from the dropdown menu
- Under the “Monitor” section, select either “In” or “Auto”
- Open the “Browser” by selecting the “View” tab, and ticking “Browser“. It will open up on the left hand side of the screen
- Open the “Browser” and select “Instruments”, then “Instrument rack“, then “Bass“, and finally “Basic 303 bass” (or any other instrument you want to use)
- Drag and drop it onto your MIDI track to use it, or double-click it.
Summary
There we have it! You’ve now connected your MIDI keyboard to Ableton, and have set up your first MIDI track!
Of course, there’s so much more you can do with a MIDI keyboard. But, this guide has covered enough for you to get started on your music production journey.
Remember: technology can be weird sometimes. So, if you have a problem, just run back through this guide and the issue should fix itself. If you’re still having problems, check out the below FAQ guide.
For anything further, I recommend checking with Ableton directly.
Frequently Asked Questions
The MIDI keyboard isn’t showing in the “MIDI Port” devices
- Try unplugging your MIDI keyboard and replugging it in (this has worked a few times for me!)
- Ensure that you have installed all the latest drivers, firmware, and software updates for your MIDI keyboard, Ableton, and PC
- Restart Ableton
- If it’s still not showing, select the device manually in the”MIDI / Link” sections “Control Surface” and “Input”
MIDI keyboard isn’t making a noise
- Make sure that you have followed all the above steps fully
- Make sure that your PC is making noise as expected (try watching a YouTube video)
- Try using a different virtual instrument
- Try using a different MIDI input (press “M” on your PC keyboard to enable your QWERTY keyboard as a MIDI device)


Conor is a music producer, multi-instrumentalist, and all-round enthusiast from the UK with over 15 years of experience. He’s the founder and sole-content creator for the roundtable audio blog and YouTube channel.